Content
When we did our first tours outside the areas we knew, we always had a map with us. This was to avoid getting lost and to be able to reschedule along the way – but it was incredibly impractical. We had to stop, unfold the map, locate it, find it and then put the big paper monster back into the right shape.
Later on, we wrote down all the towns on a small piece of paper and put it in our jersey pockets. Unfortunately, the signposting of the places was then sometimes missing, or the note got lost. All these uncomfortable tour planning options have been a thing of the past for some time now, because today there is komoot. In this komoot guide, you can find out how the navigation app is structured, how tour planning works and which functions are available.
If you are already familiar with komoot, then our article “komoot tips and tricks for advanced users” will be of interest to you.
What could be better than a tour on unknown paths, somewhere in the middle of nowhere? Komoot also knows such remote routes, so that you can always discover new things without constantly risking detours.
What does the navigation app cost?
Before you can start using Komoot, you need to clarify how much you need to invest in order to use the navigation app. To do this, you must first make a basic choice between two versions: “komoot maps” and “komoot premium”.
komoot Maps
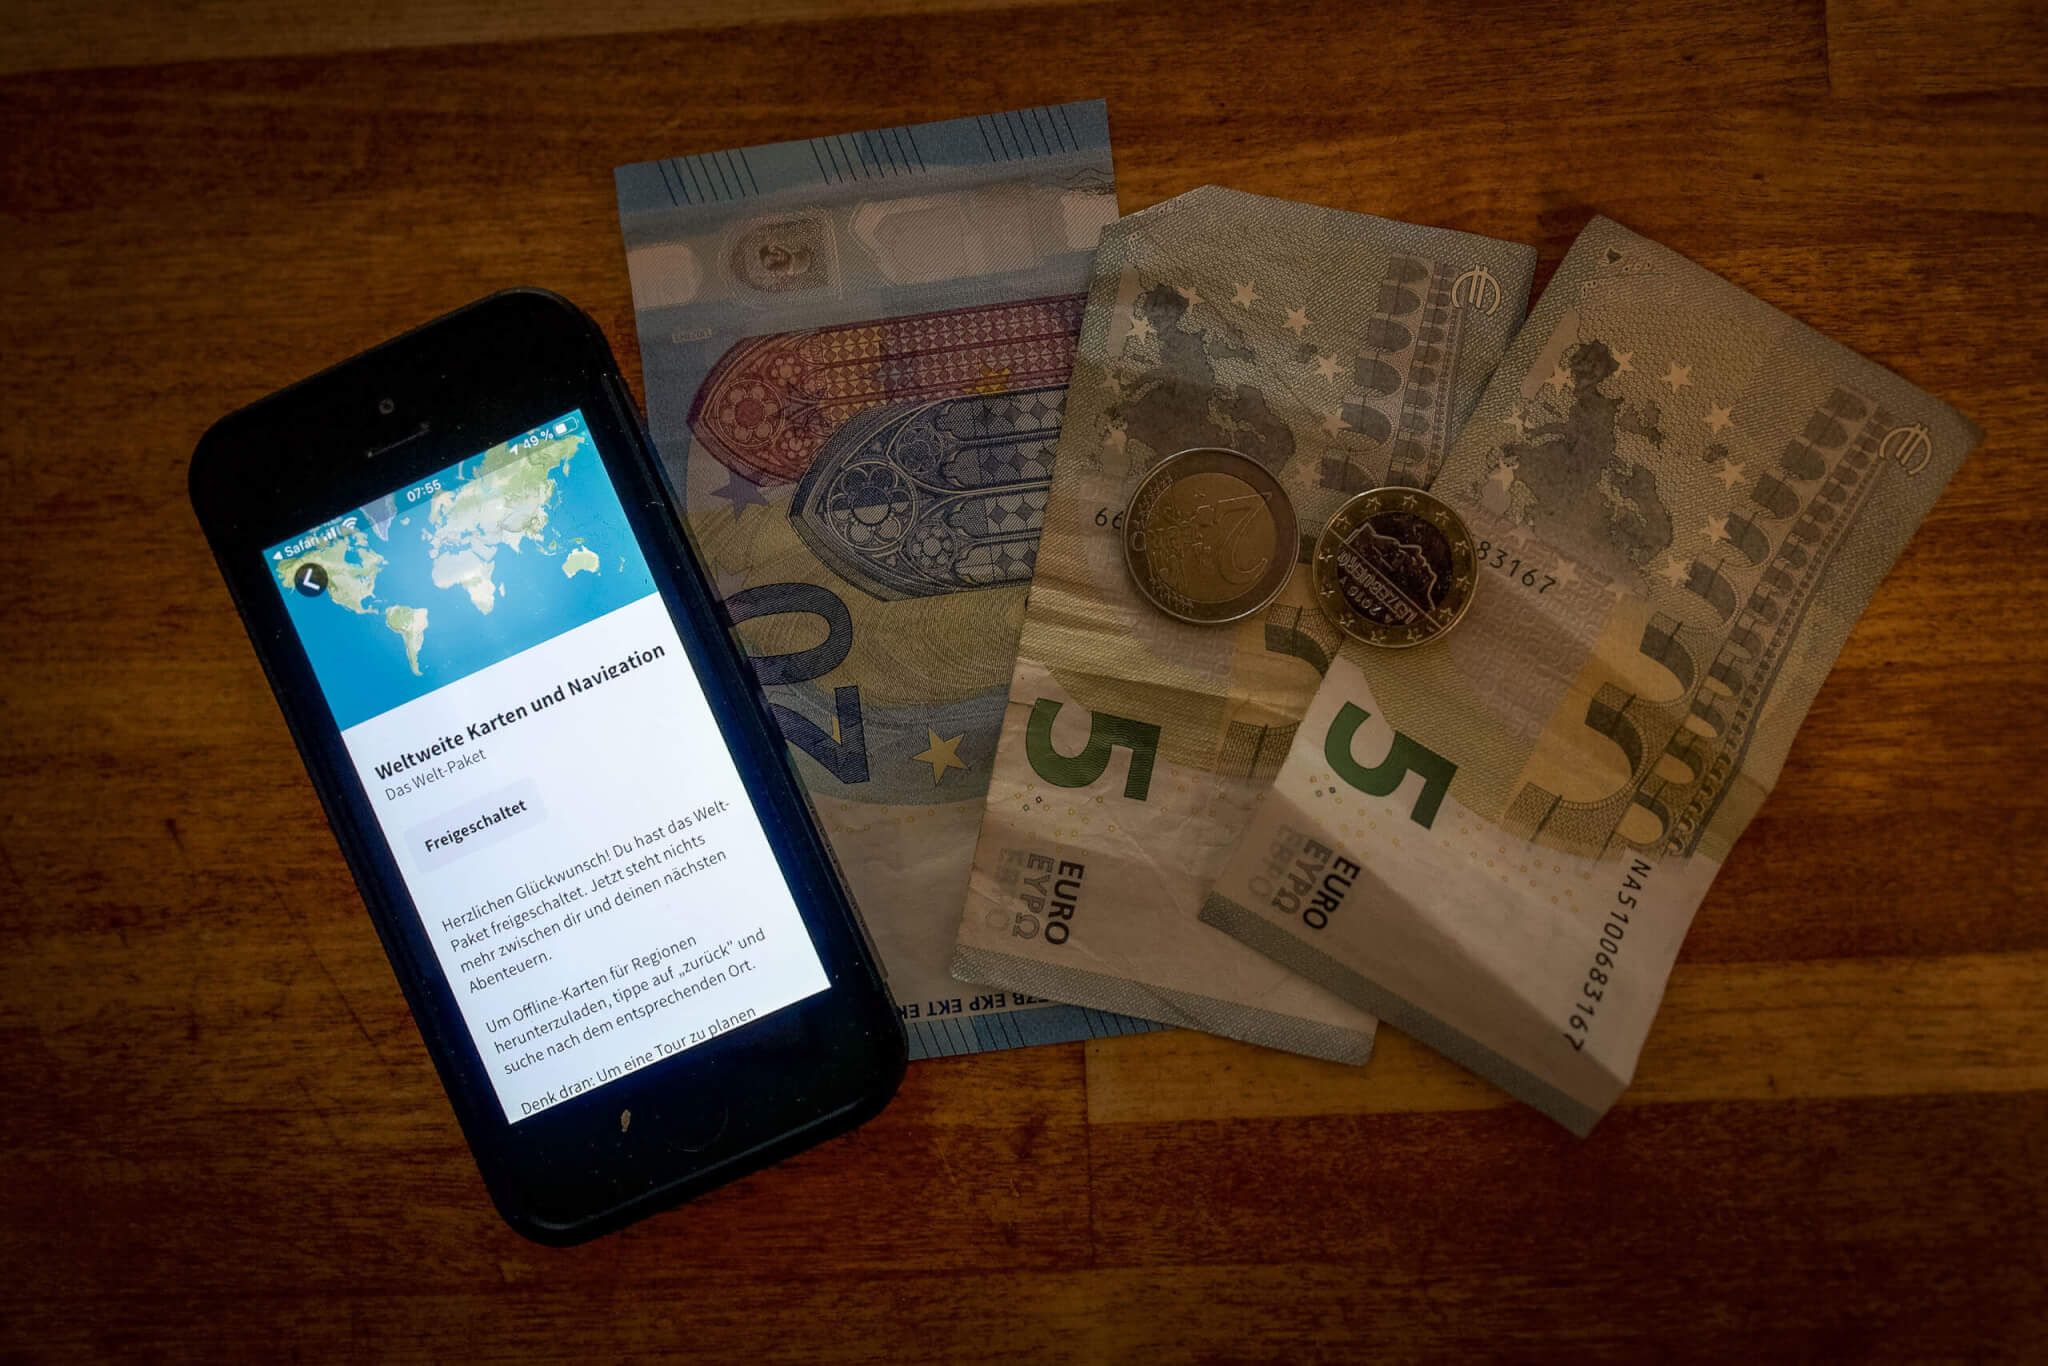
Komoot Maps basically already offers a fairly complete all-round package consisting of the planning tool with navigation function and map material. You can use this both online and offline. You also benefit from the komoot community with user tips and editorial content. Here you can get the free “taster package” with a single region. It’s perfect if you want to try komoot at home first. If you use the app only occasionally, you can purchase additional individual regions for 3.99 euros each.
With the “multi-region package” for 8.99 euros, you can activate several regions in the desired radius. Perfect for use at home when you want to explore a wider area. The “World Package” – the name gives it away – unlocks the whole world for 29.99 euros. And because all maps packages are one-off purchases rather than subscriptions, this package is also our clear recommendation to buy. At least if you plan to use komoot more often. Here you can find all the included services of the maps packages.
komoot Premium
Komoot Premium works a little differently, namely in subscription mode. To the point: 59.99 euros a year. This is clearly more expensive and only worthwhile if you appreciate the additional functions of the navigation app. These are pretty cool, after all. We especially like the possibility to easily create our own collections. This is cool for planning, but also to recommend a region or certain highlights to your friends. Also extremely helpful is the multi-day tour planning, which is perfect for planning long (bikepacking) tours.
The option to select sport-specific map material is also great. On the mountain bike map, for example, all trails are then marked in colour, while on the cycle map, for example, long-distance cycle routes are highlighted. In addition, you can call up timed weather data in the planned tours. As the icing on the cake, the package even includes AXA travel insurance and various discount campaigns with komoot partners. All Premium Features can be found here. We have summarised all the price models for you below.
kommot maps
Single region
- Voice navigation
- Offline maps
- One-off payment
- First region free of charge
kommot maps
Regions Package
- Voice navigation
- Offline maps
- One-off payment
- Several regions within the radius as a package
kommot maps
World Package
- Voice navigation
- Offline maps
- One-off payment
- All available maps worldwide
kommot premium
World Package & Premium Features
- Payment annually or monthly (4.99 euros/month)
- All functions from the World Package
- Multi-day planner
- Own Collections
- Sport specific maps
- Tour weather
- AXA Insurance and Premium Offers
Entdecke vorgefertigte Radtouren aus der komoot Community
Let yourself be inspired
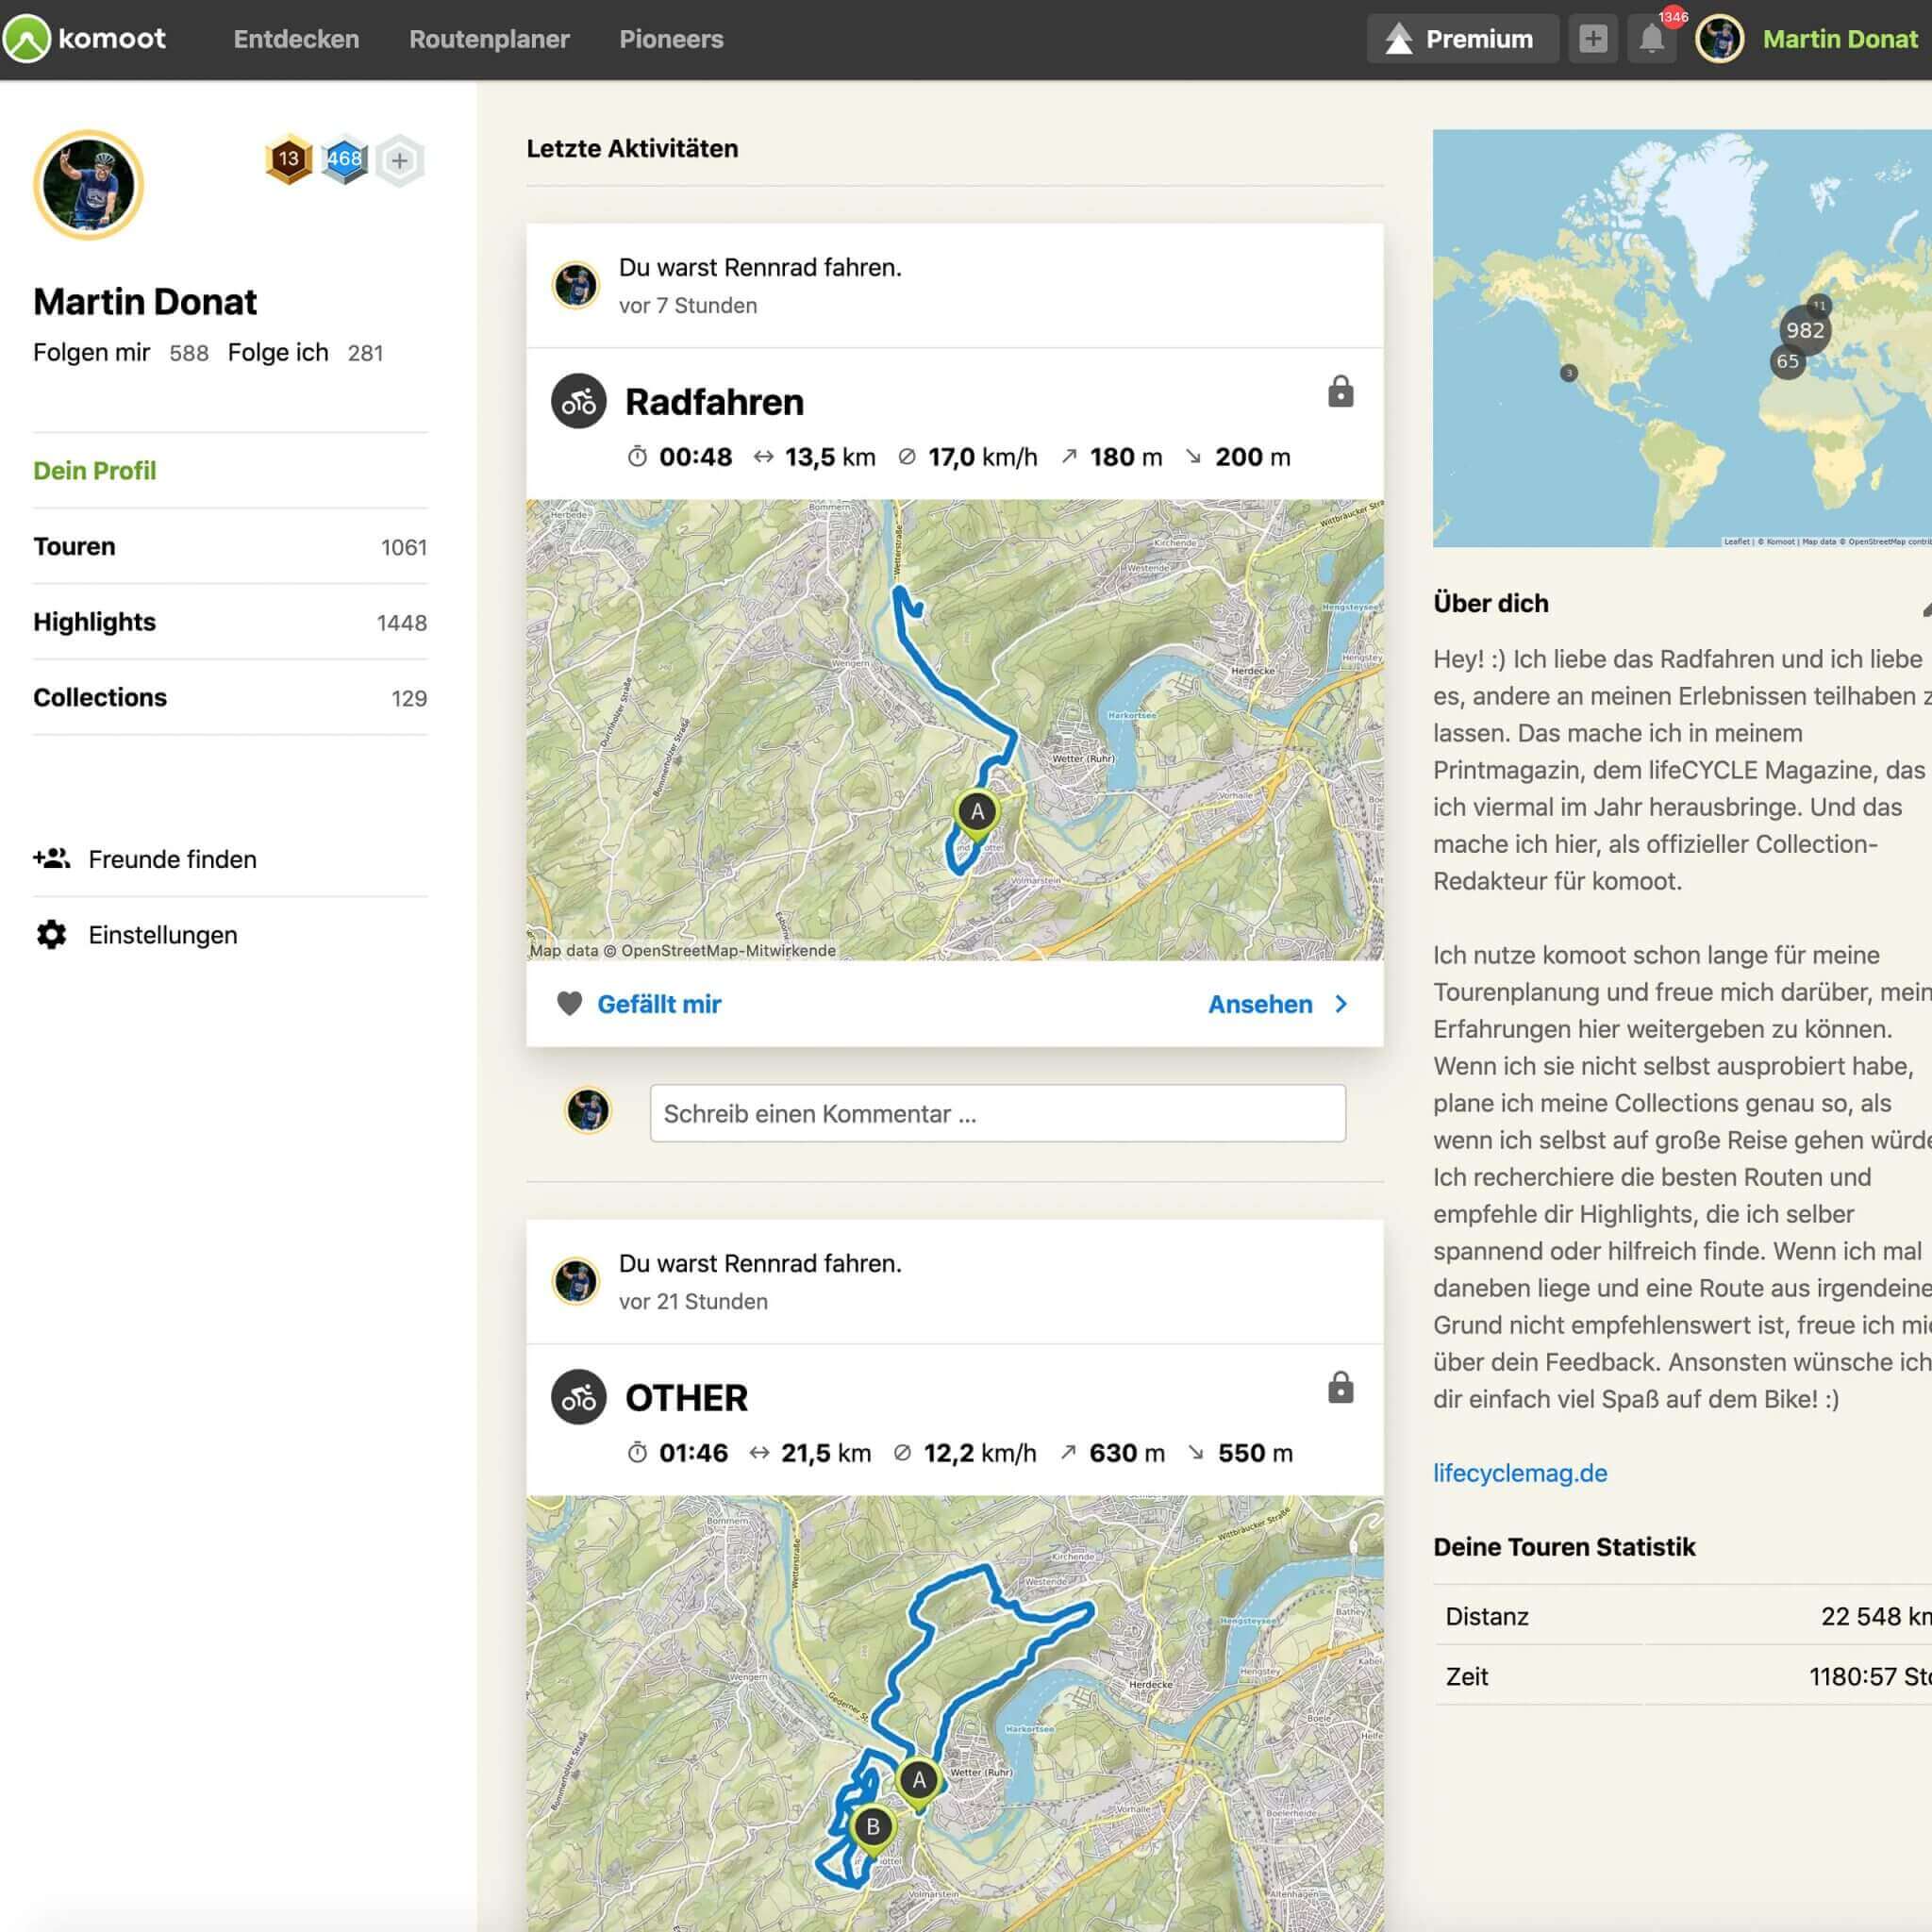
The easiest way to plan a tour with Komoot is not to plan it yourself, but to be inspired by tour suggestions. Because komoot is not only a tool, but also a community in the style of social media. As with Facebook and the like, you create your own profile, can follow others and “like” or comment on their activities. And: You can look at them and take them over. In addition, komoot itself regularly presents beautifully prepared tour suggestions for all disciplines. This results in a huge pool of inspiration – and you can draw from the full!
In order for the community idea to work well, it makes sense that you first take a few minutes to “spruce up” your komoot profile. Upload a nice picture of yourself and describe yourself with a few nice words. Also indicate what you are particularly interested in and see if some of your “friends” also have a komoot profile that you can connect to directly. You can start right away with our lifeCYCLE komoot profile. 😉 After you have implemented these komoot tips, you can finally get going!
Discover your surroundings
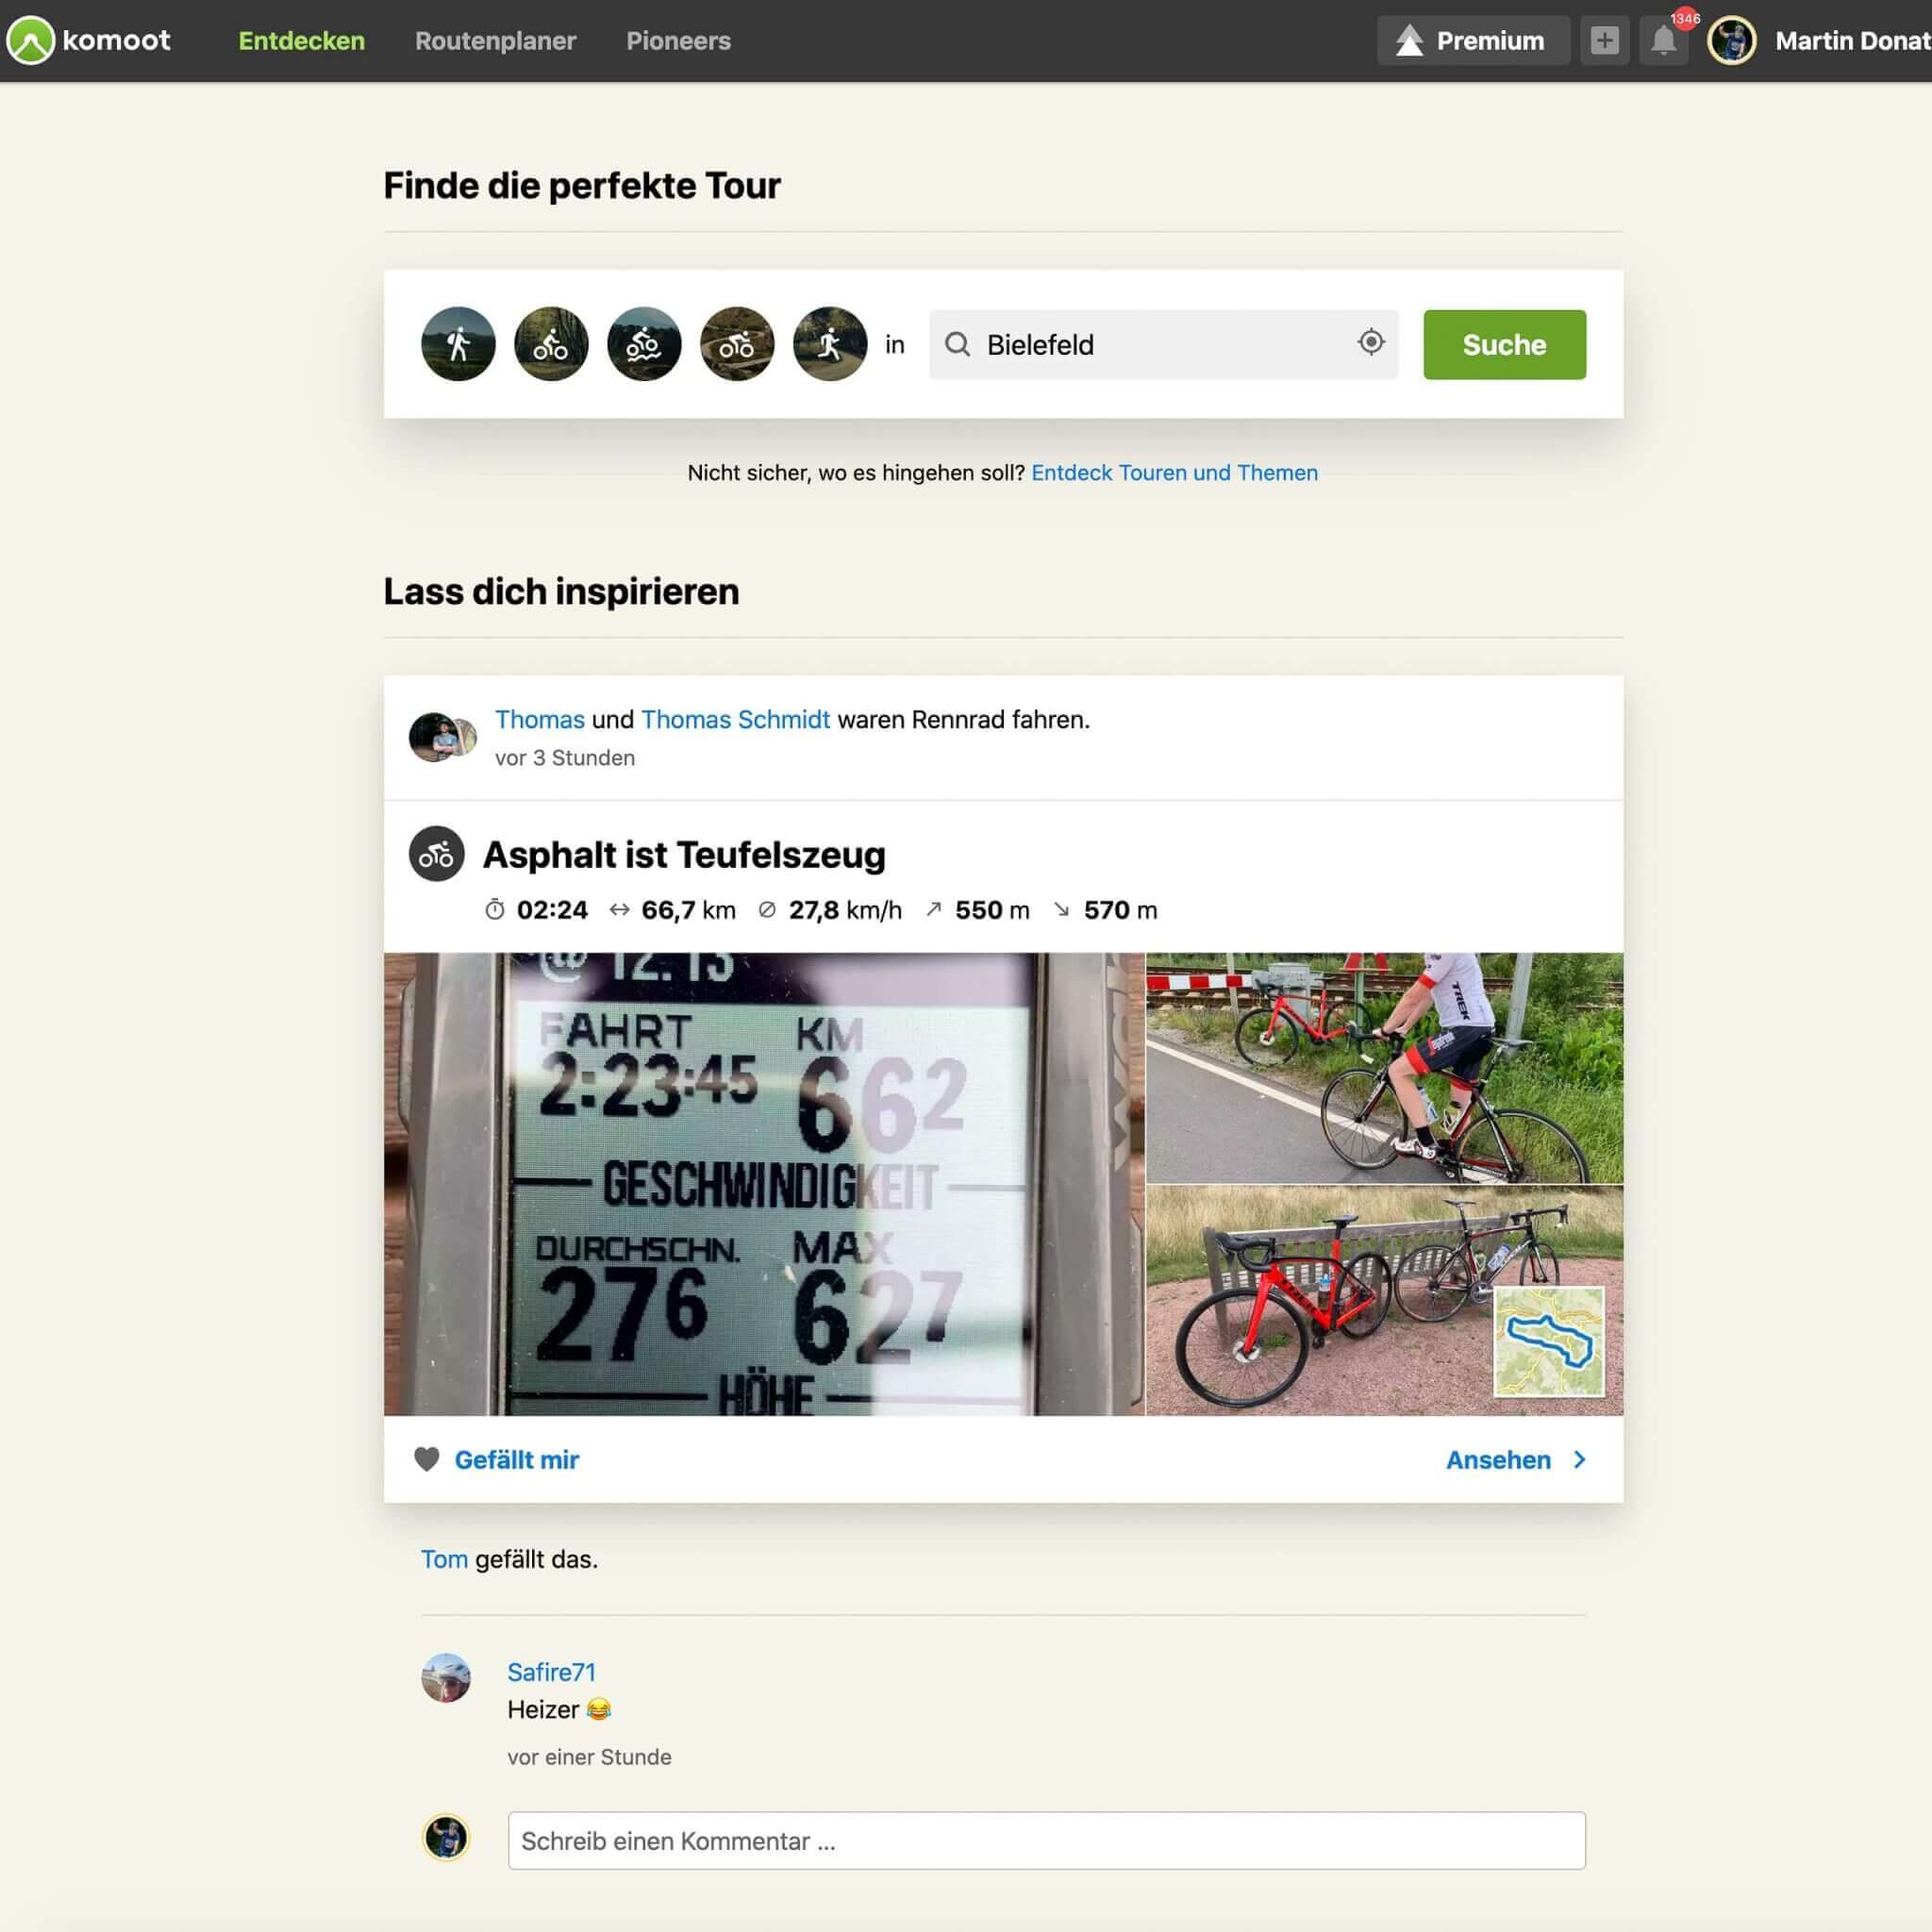
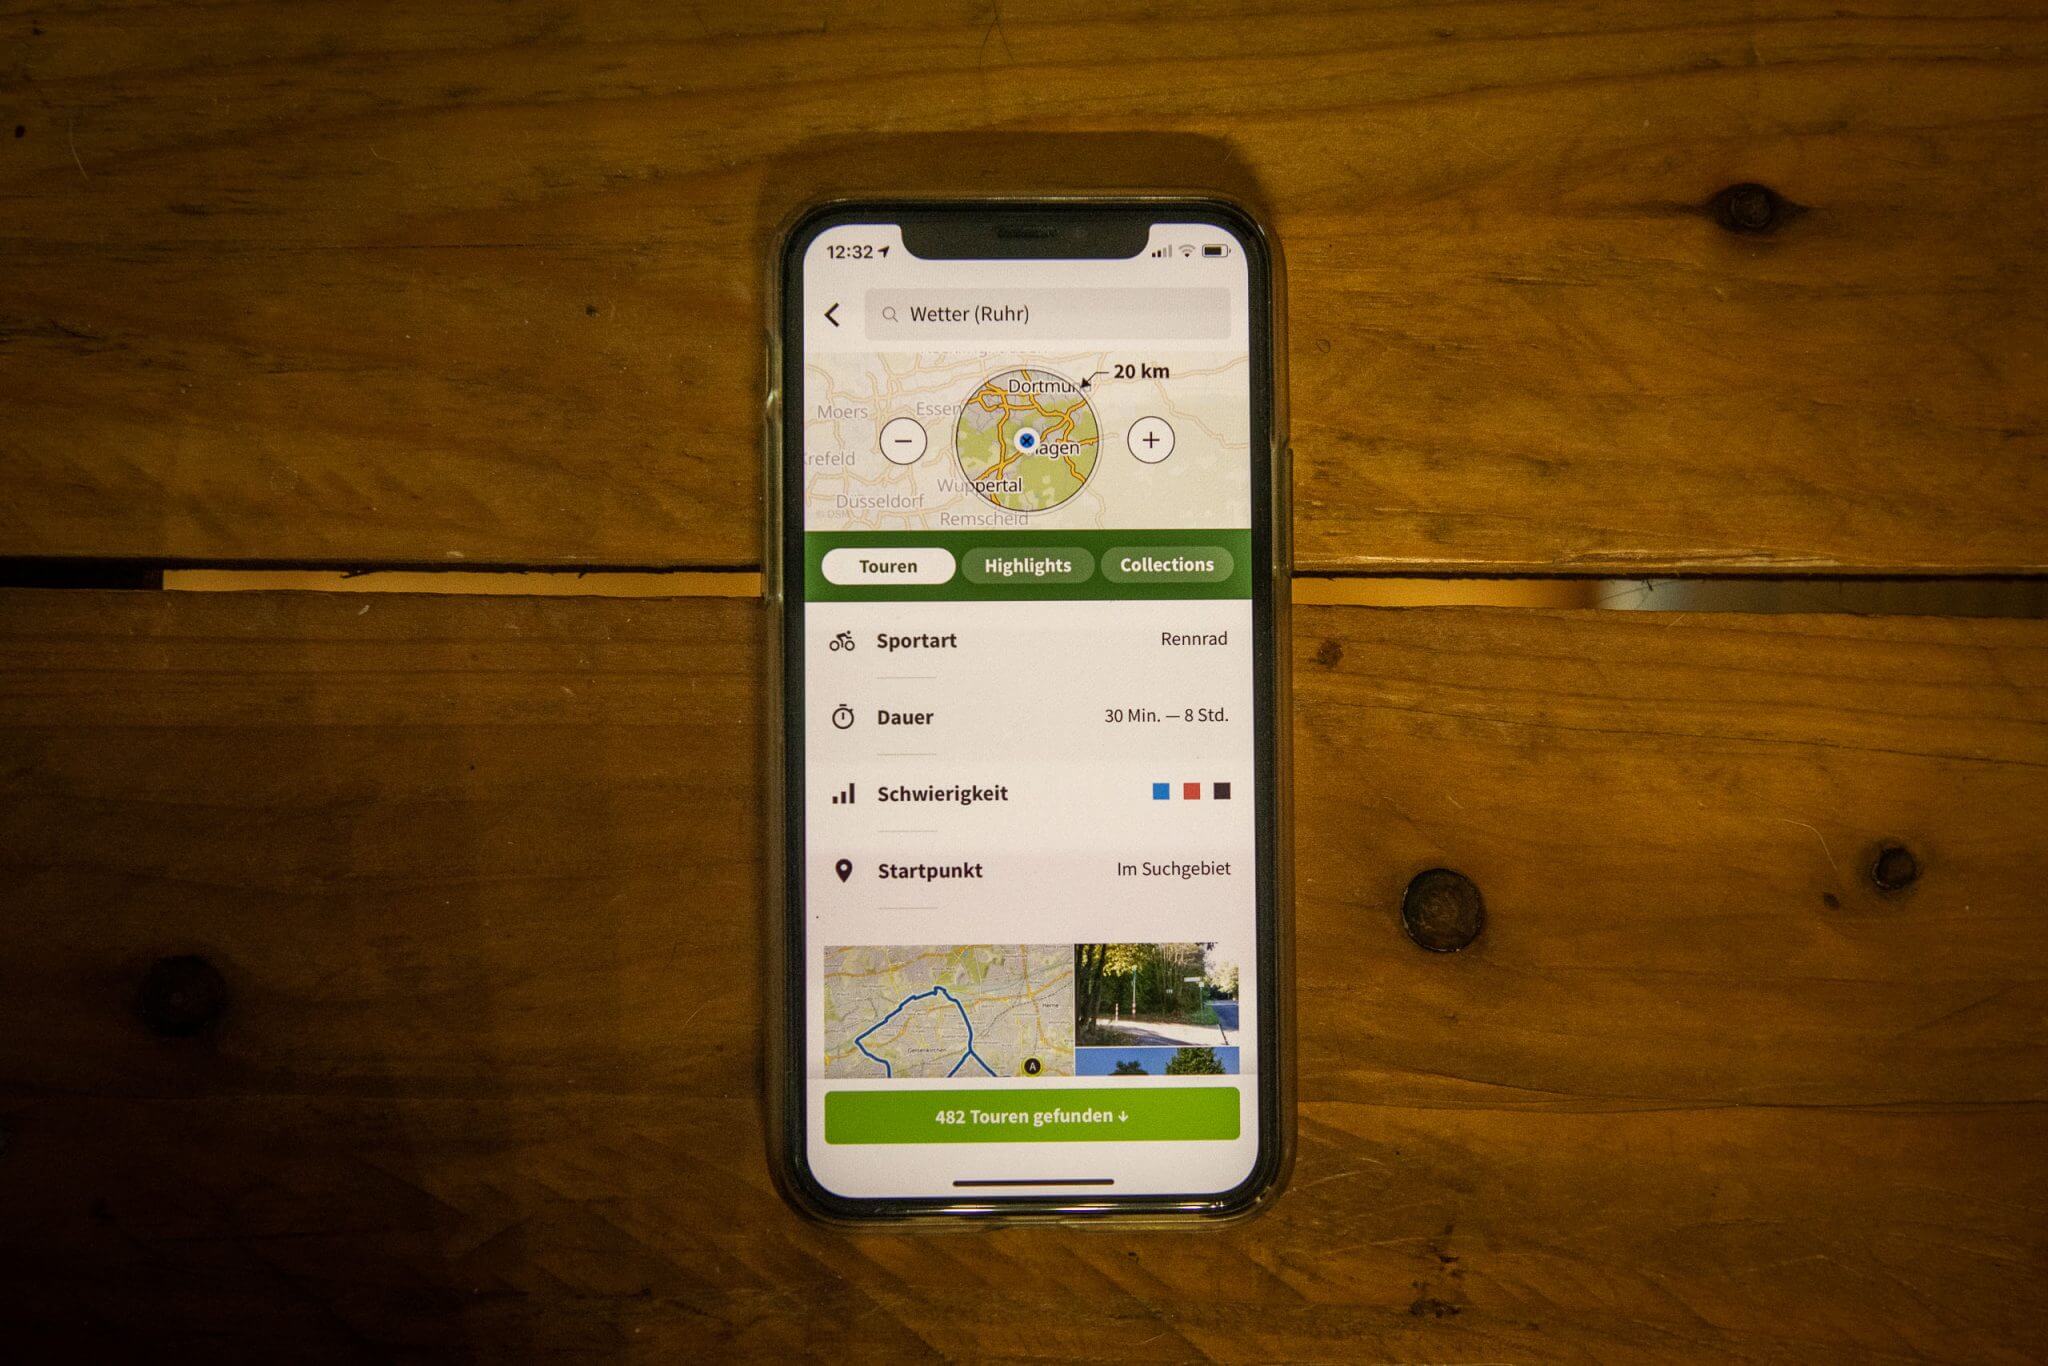
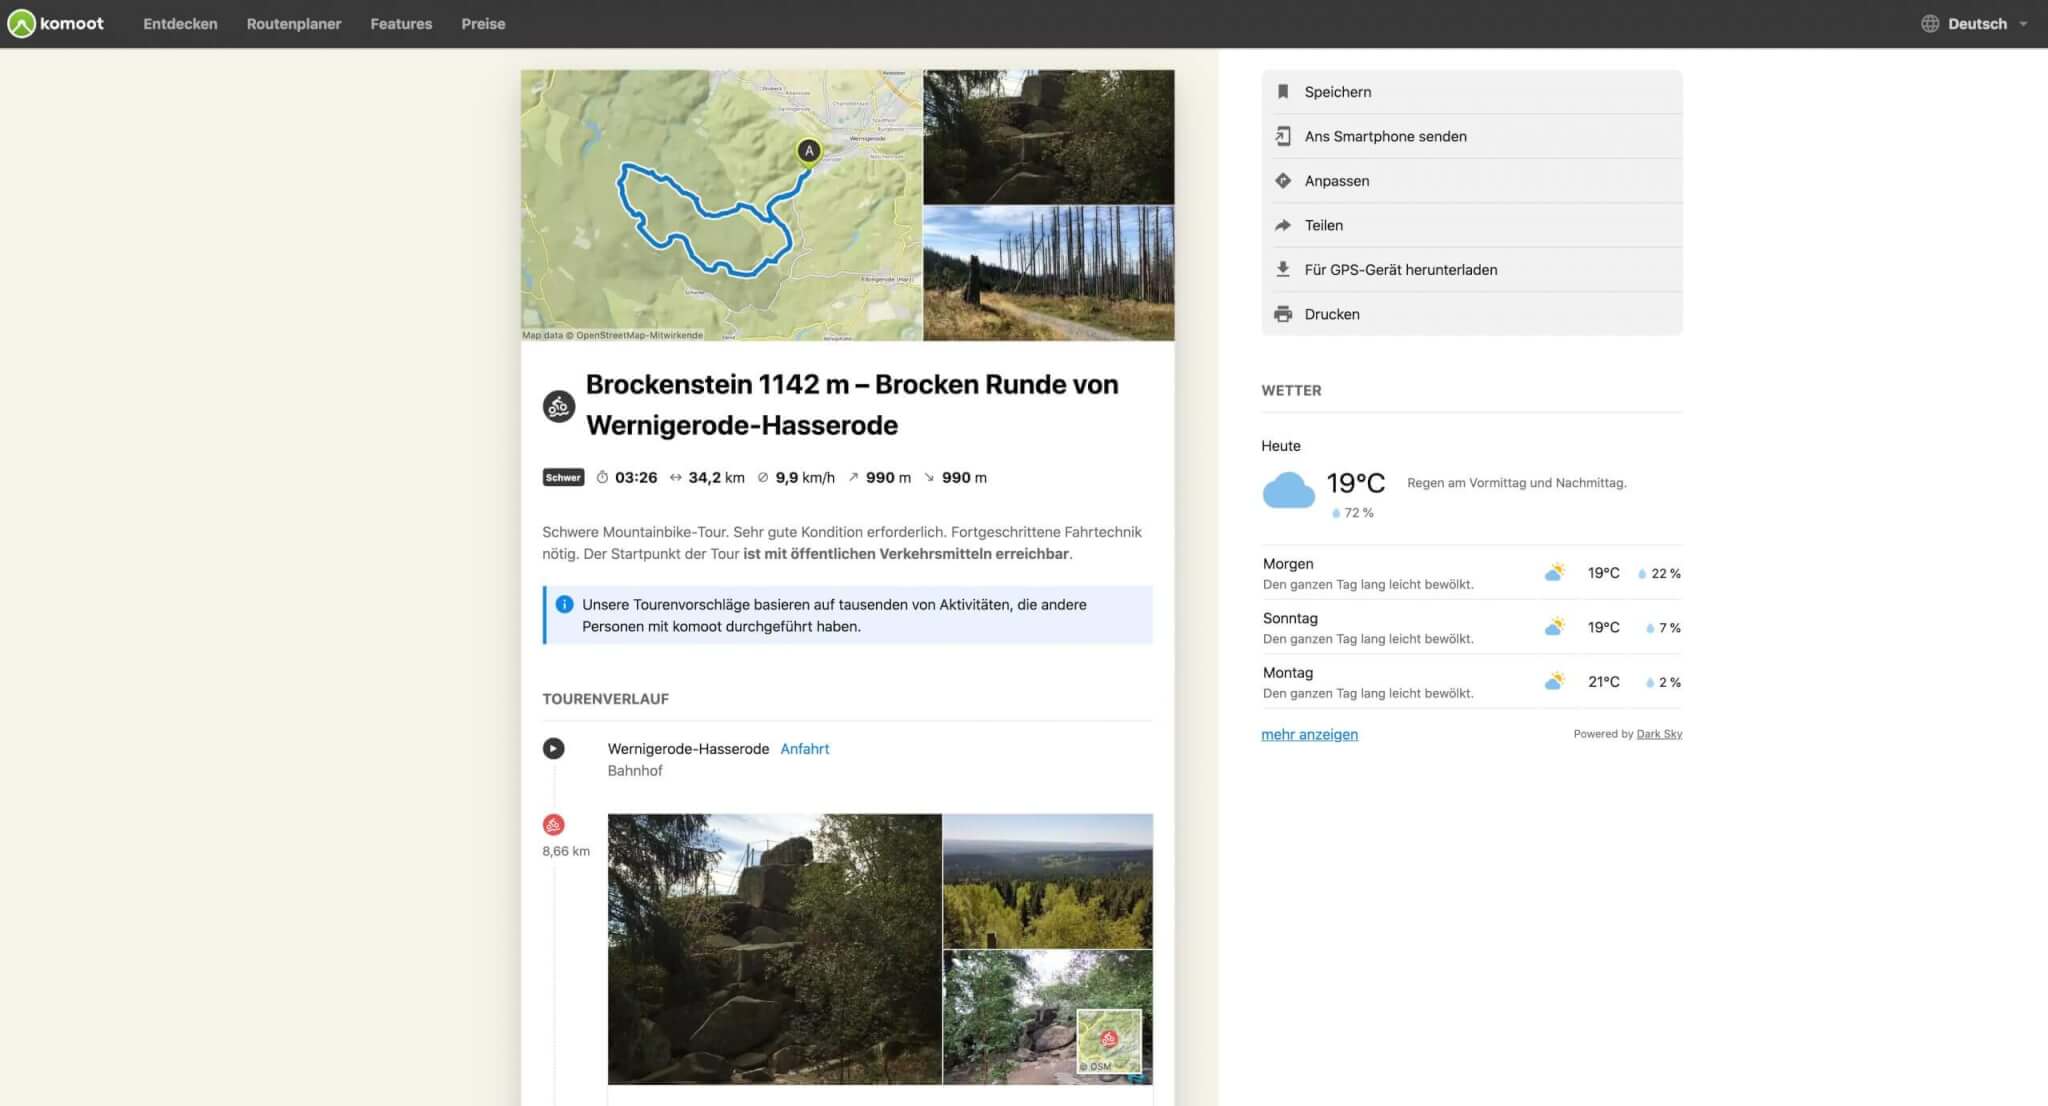
If you go to the home page on the desktop, you will find the “Discover” tab at the top left. In the bar below you can enter the place where you want to start. To the left, you only need to select the sport. And you will be shown a whole range of possible routes. You can sort the results, for example, according to the duration of the tour, the degree of difficulty or whether the start should be accessible by public transport.
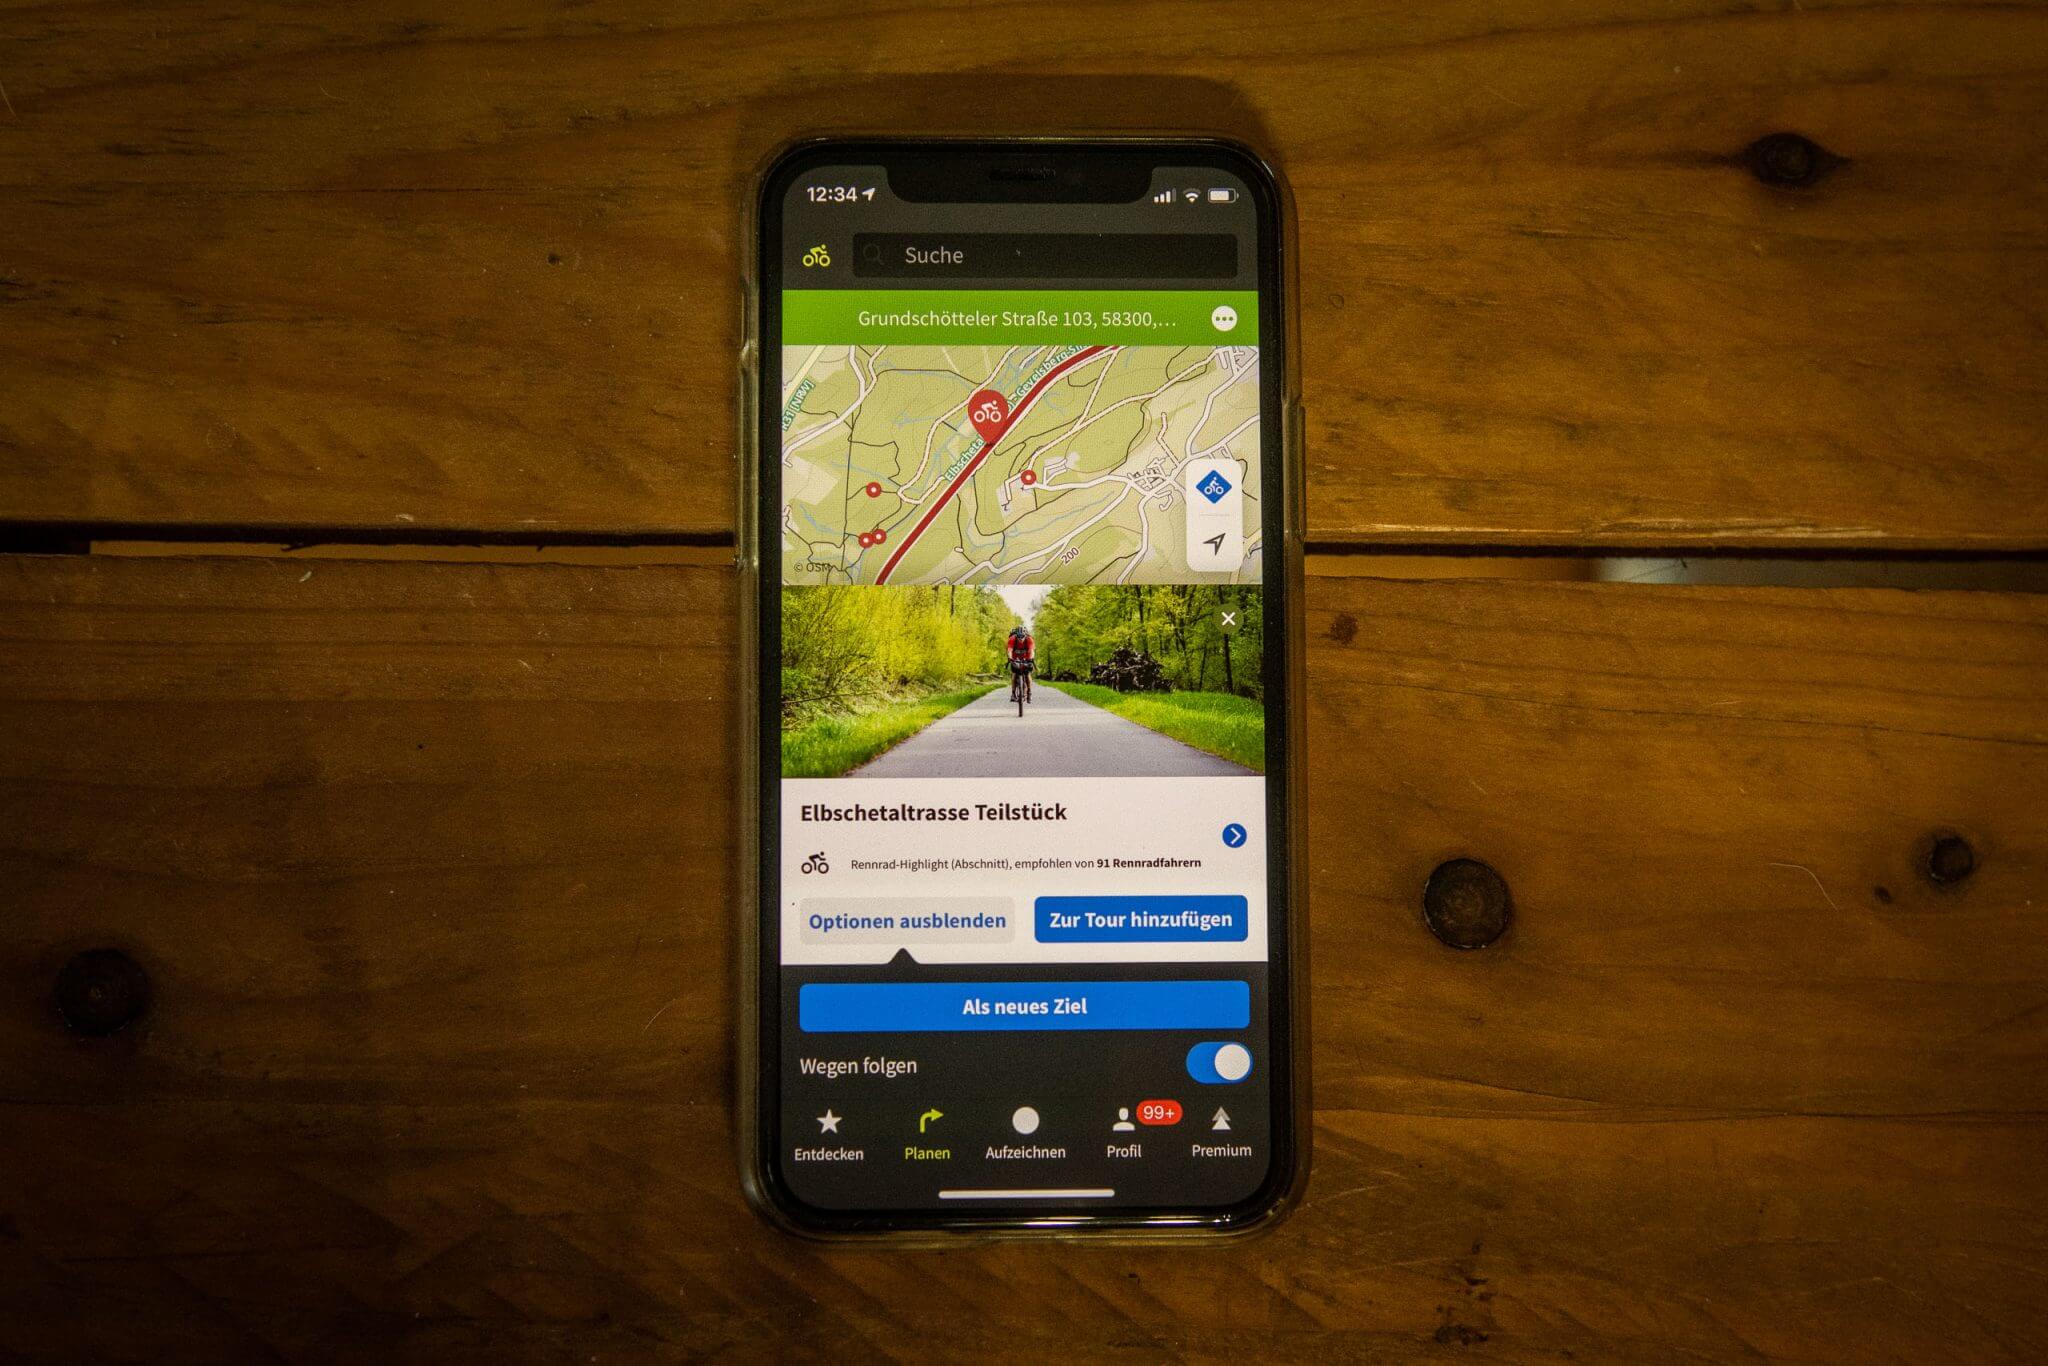
At the top right, it is also possible to adjust the radius of the search. There you can also switch to the map view. In addition, you have the option to display different “Points of Interests” under the scaling buttons (Zoom in/Zoom out). They are listed there according to thematic focus. The highlights entered are of course also a great planning aid.
Plan your tours
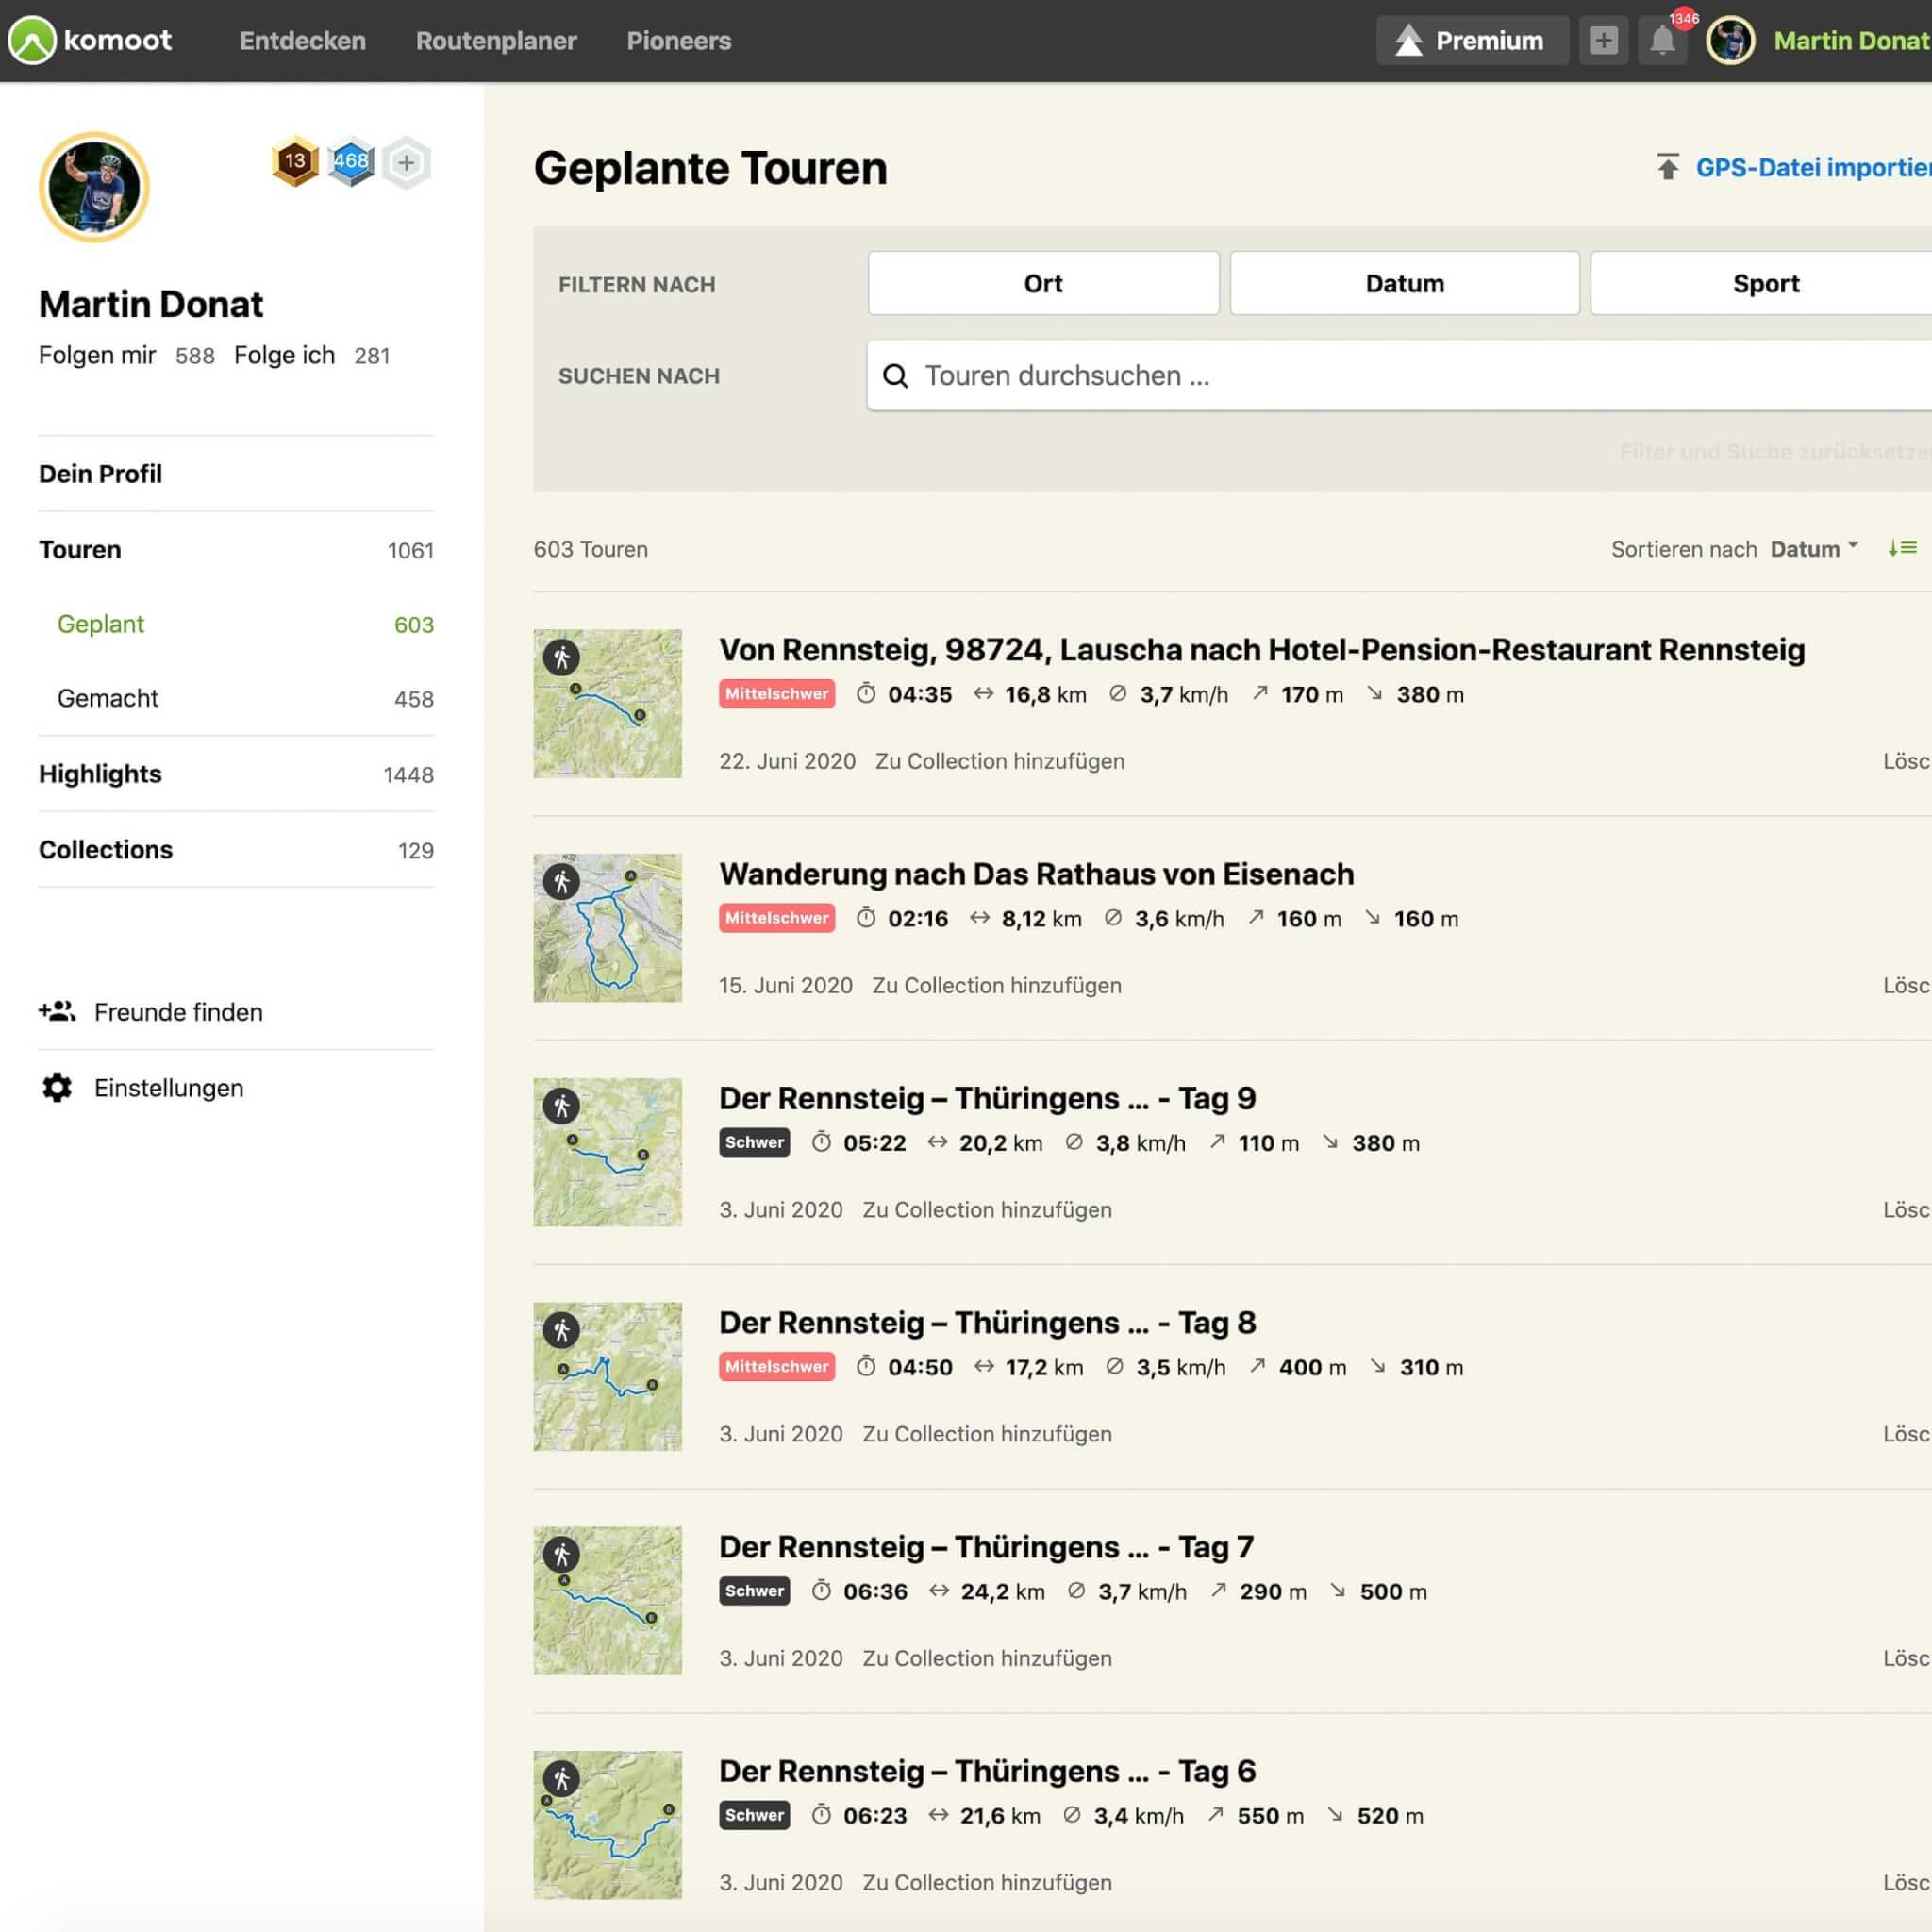
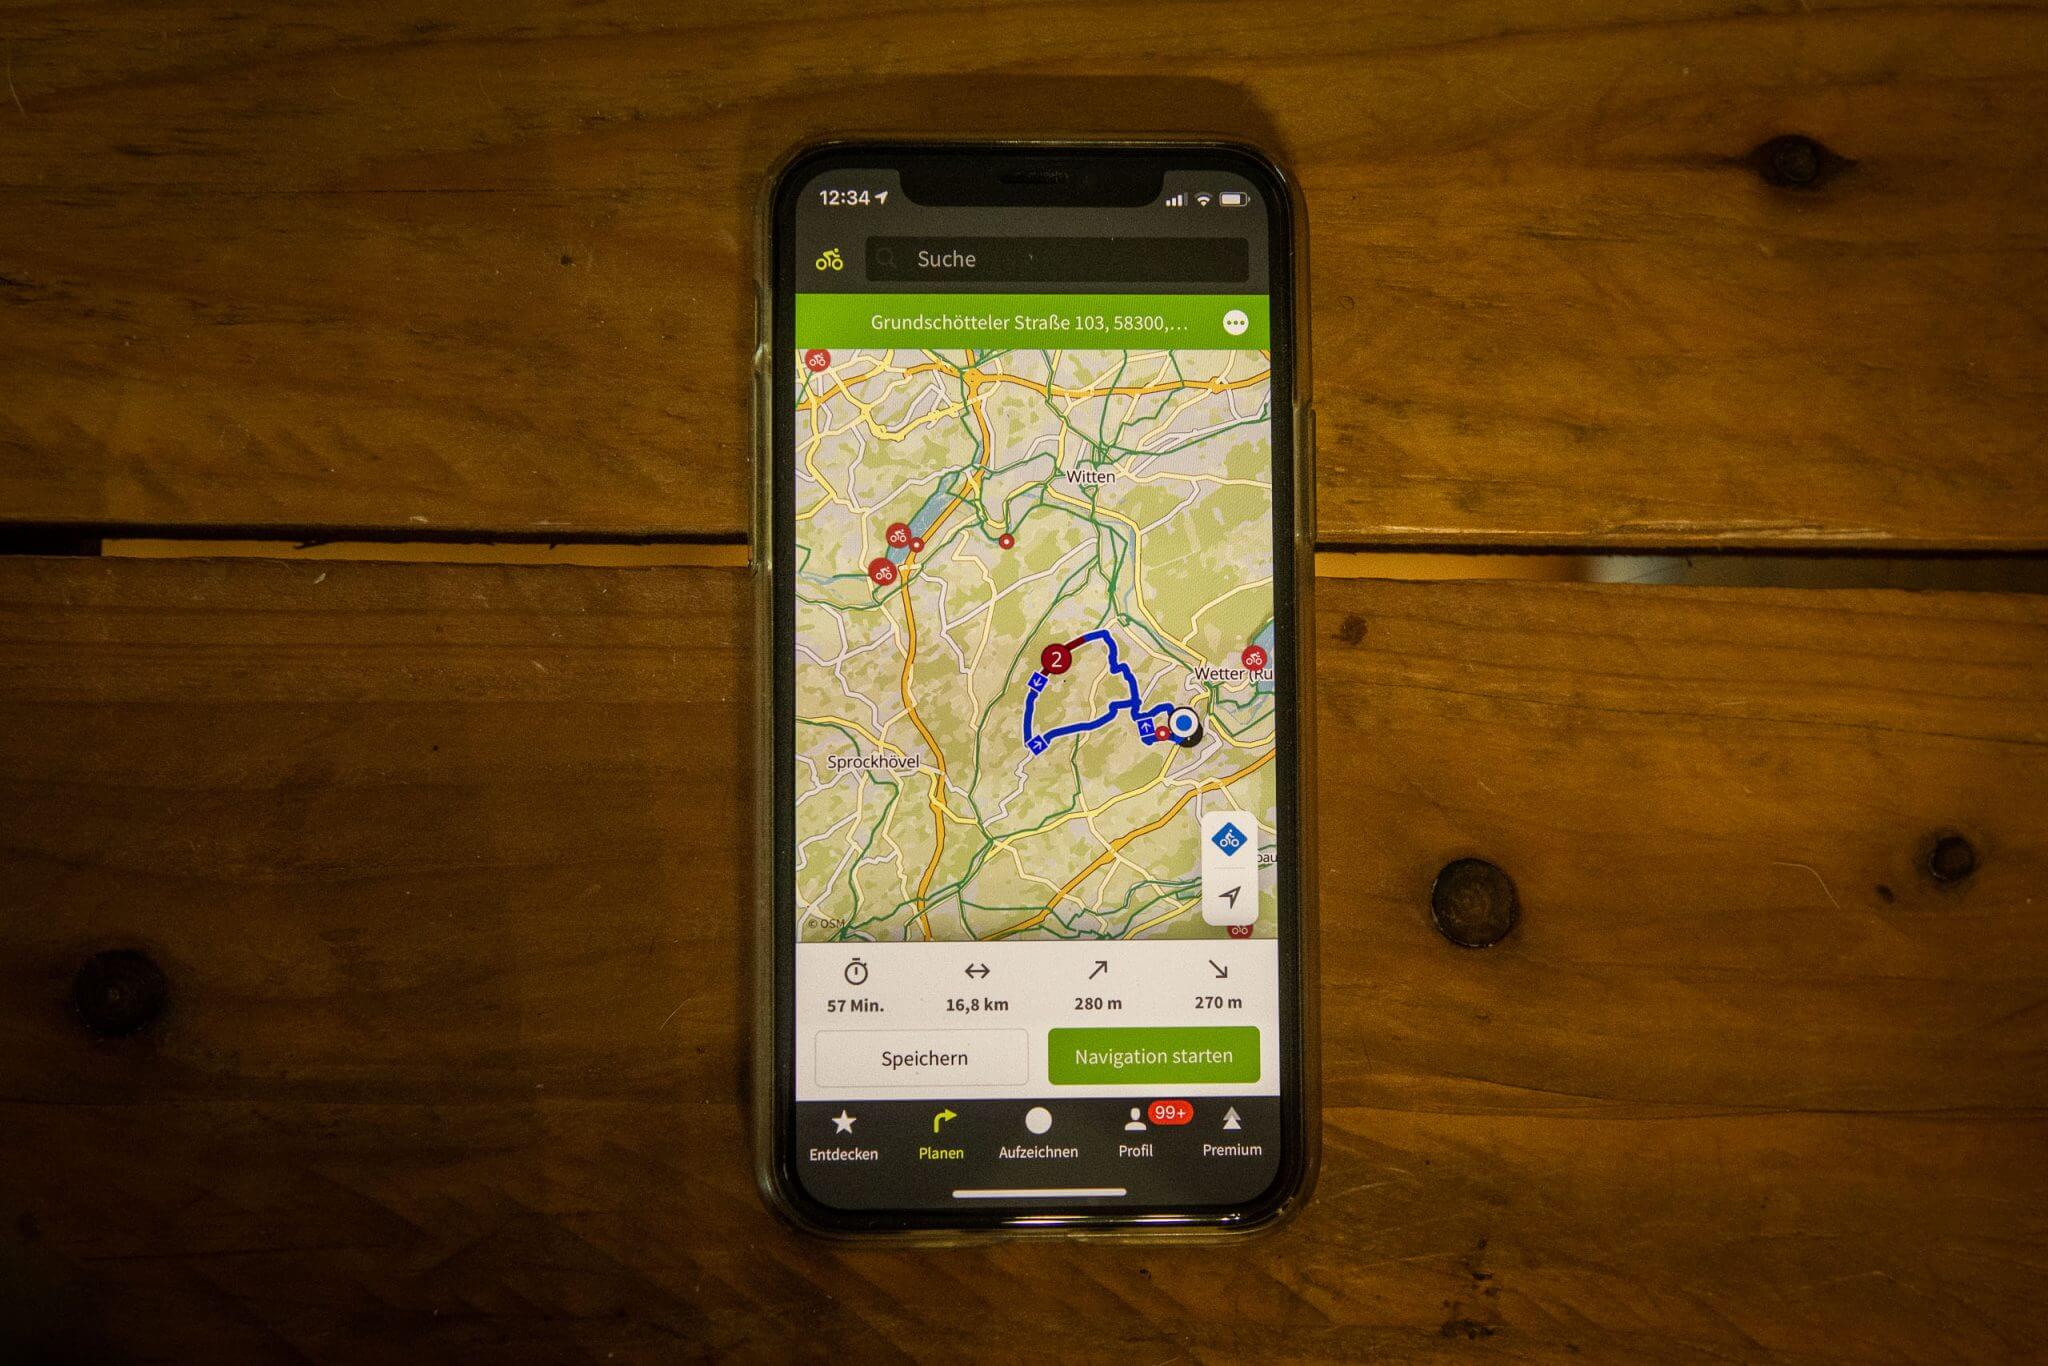
In the next step you can save the tour in your komoot profile. There you can also edit them, download share or print the exact directions including a small map. All the highlights of the tour are listed below each other. At the very end, after the last highlight of the route, you will get a detailed overview of the path/road conditions, as well as the elevation profile. With the “Customize” function you can create a new start and destination point, but also copy and reschedule the entire route.
To do this, you need to “open the copy in the planner”. There it is then possible to add and remove waypoints and highlights. You can also move the start point (marked A) and the end point (B). There are really a lot of well thought-out features now. It’s best to just try things out a bit to get started. Despite the numerous options, the navigation app is basically very clear and intuitive. And together with our komoot guide, you’re sure to get it right.
Plan your first bike tour with komoot – step by step guide
If you don’t feel like taking a pre-made tour, but would rather get creative yourself: no problem. This way you can define all important key data, undergrounds, rest areas and supply points yourself and adapt them to your own needs. With komoot you can do route planning on your phone, but most importantly on your computer.
Basically, our recommendation is: if you can set it up, plan at home on your desktop. This is much more comfortable and clear than on the small touchscreen of a cell phone. Basically, we still have to say that the mobile version also works fully and really well. It’s best to find out for yourself how it’s easiest for you.
Plan your first bike tour with komoot – step by step guide
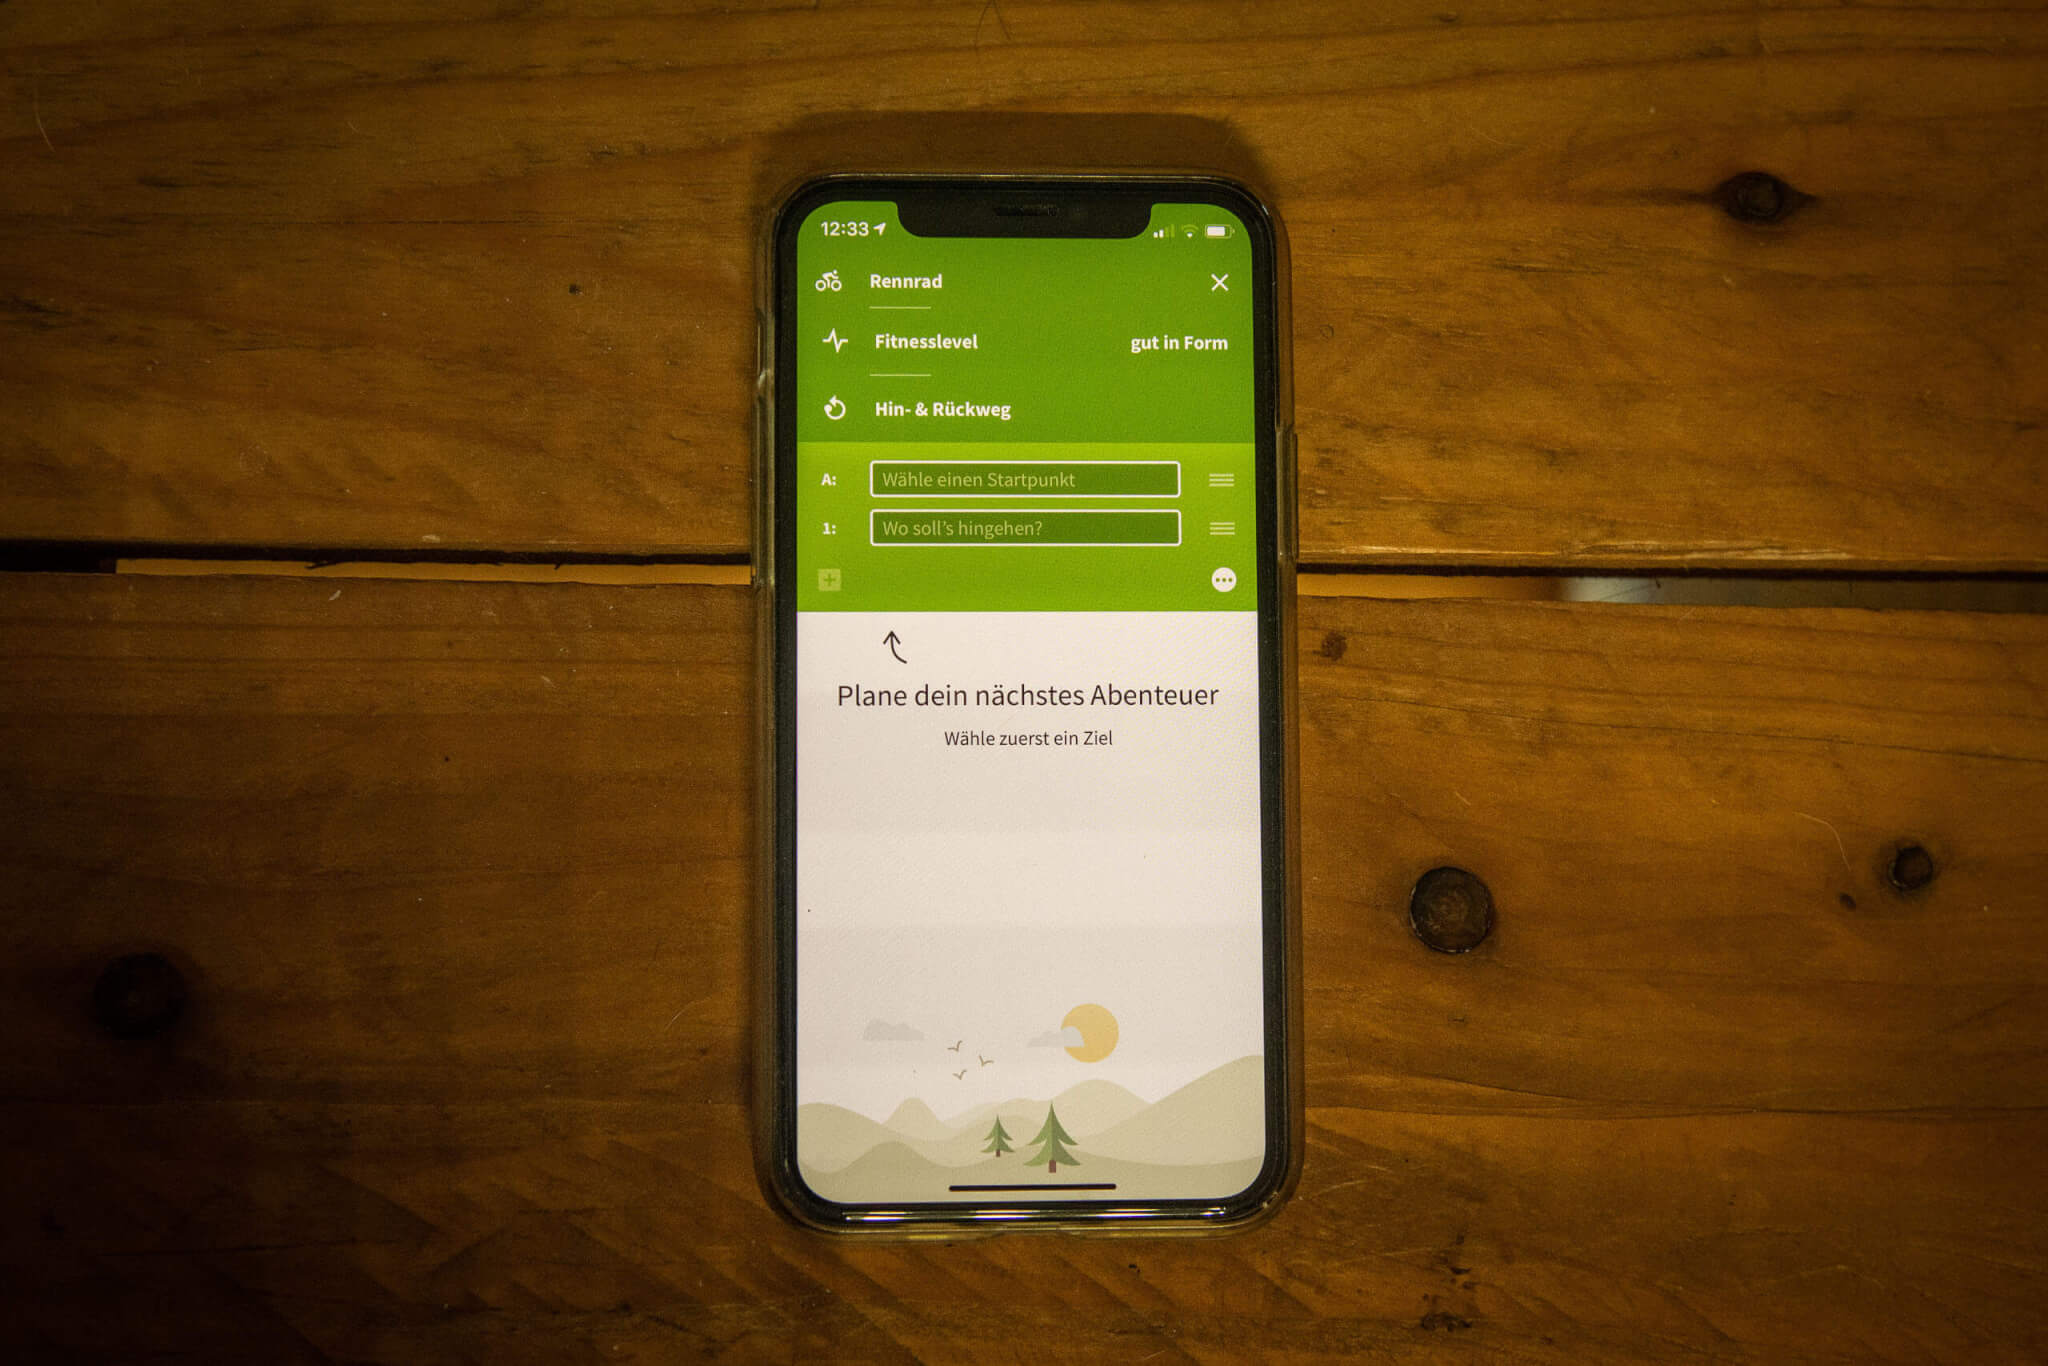
Select sport
First of all, you should choose the right sport. In general, there are five different bicycle activities and three on foot. Select according to your desired mode of transportation (if you have a trekking bike, “bike” is a good choice, if you have a mountain bike, “mountain bike” and so on). Each activity type places a different emphasis on planning.
Specify fitness level
For a rough calculation of your activity time, you can still specify your fitness level. Between “Untrained” and “Professional” everything is there. Especially for longer activities, it makes sense to pay attention to the approximate time you will be on the road. Many factors such as food and additional equipment such as lighting can be aligned with this.
Select: Outbound only or back as well?
Essential for the creation of your route is whether it should be a round trip (where start and finish are the same) or whether it will be a one-way tour. The displayed data like kilometers and altitude meters, but of course also the activity duration will only be displayed “correctly” if you fill in this item correctly for your use case.
Select starting point
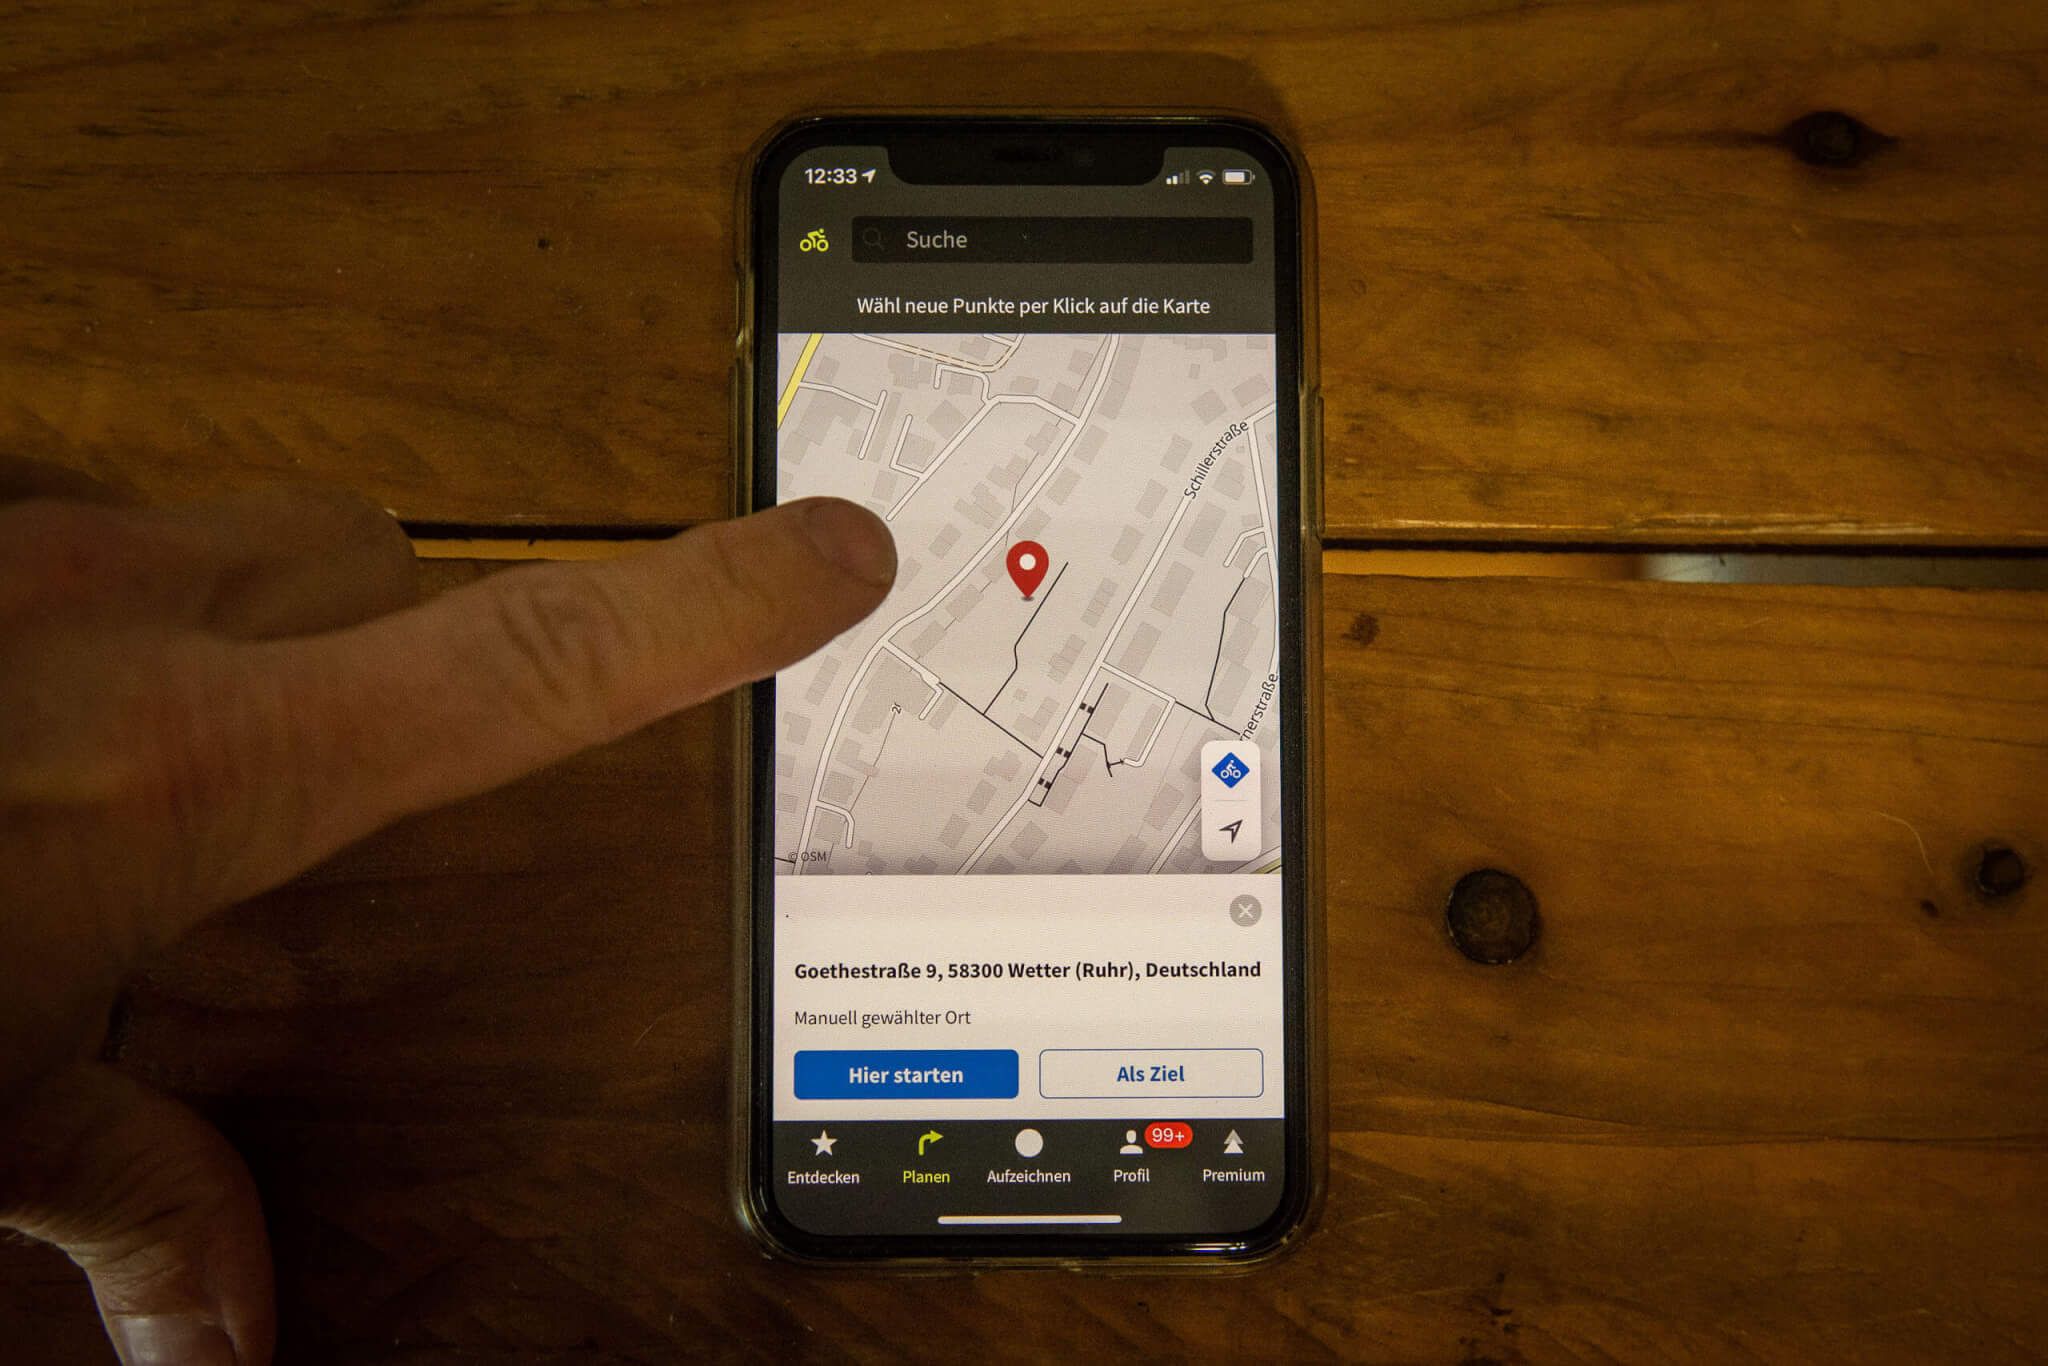
Now the starting point of the route is set. This can be done by clicking on the map, or by entering the start address (input field A). Alternatively, you can simply apply your current location automatically.
Select destination
The same applies as for the starting point. Either click on the map, enter the address or accept the current location. If you plan a lap where the start and finish points are to be the same, then the finish point is not equal to the start point. In this case, simply select a highlight in the immediate vicinity of your starting point, or click/touch on a new waypoint right next to the start. For such a round, you should also select “outbound only”.
Add more highlights and waypoints to the tour and customize route
Now you should already get a decent route displayed. You can now refine this route in two more steps. On the one hand, you can add more highlights and “points-of-interest” by clicking on them in the map, and on the other hand, it is possible to customize the specific routes. For example, if you discover a road on the map that you would prefer to ride, you can simply “grab” a point of the section you want to change with the mouse, click and hold, and drag it to the desired road.
Especially on longer trips, this can sometimes be lavish, but it can be worth it, for example, to avoid busy interstates or to eliminate minor planning errors. Sometimes the relaxing little side street that runs parallel to the busy one is just a click away. But sometimes you want to take the fastest route. Either way, it doesn’t hurt to take another quick look at the route you’ve created. By the way, this fine-tuning is much easier on a large computer than on a cell phone.
komoot tips: Ride the created route
Have you tried all our komoot tips and finished your first route? Then only one question remains to be clarified: How does the route get from your komoot profile to the bike? There are basically three ways to do this:
Printing the route description
Of course, this is relatively oldschool and only recommended if you really want to do it that way for some reason. After all: This option is there, you can send any tour directly to the printer simply by mouse click. An advantage can be that the analog document of course needs neither battery nor GPS reception and is therefore always with you, no matter how long and where you are on the road.
Using the komoot app on your smartphone
With the komoot navigation app for Android and IOS you can navigate in two ways. On the one hand via the display, on the other hand via acoustic turn-by-turn instructions. For both use cases, you must have the GPS function activated on the smartphone. You can make all planned tours available offline (i.e. without mobile data usage). Just drag the slider for it over under the tour summary. Of course, you need to download the required map beforehand, not just the track. That’s something you tend to forget, especially when you’re going abroad.
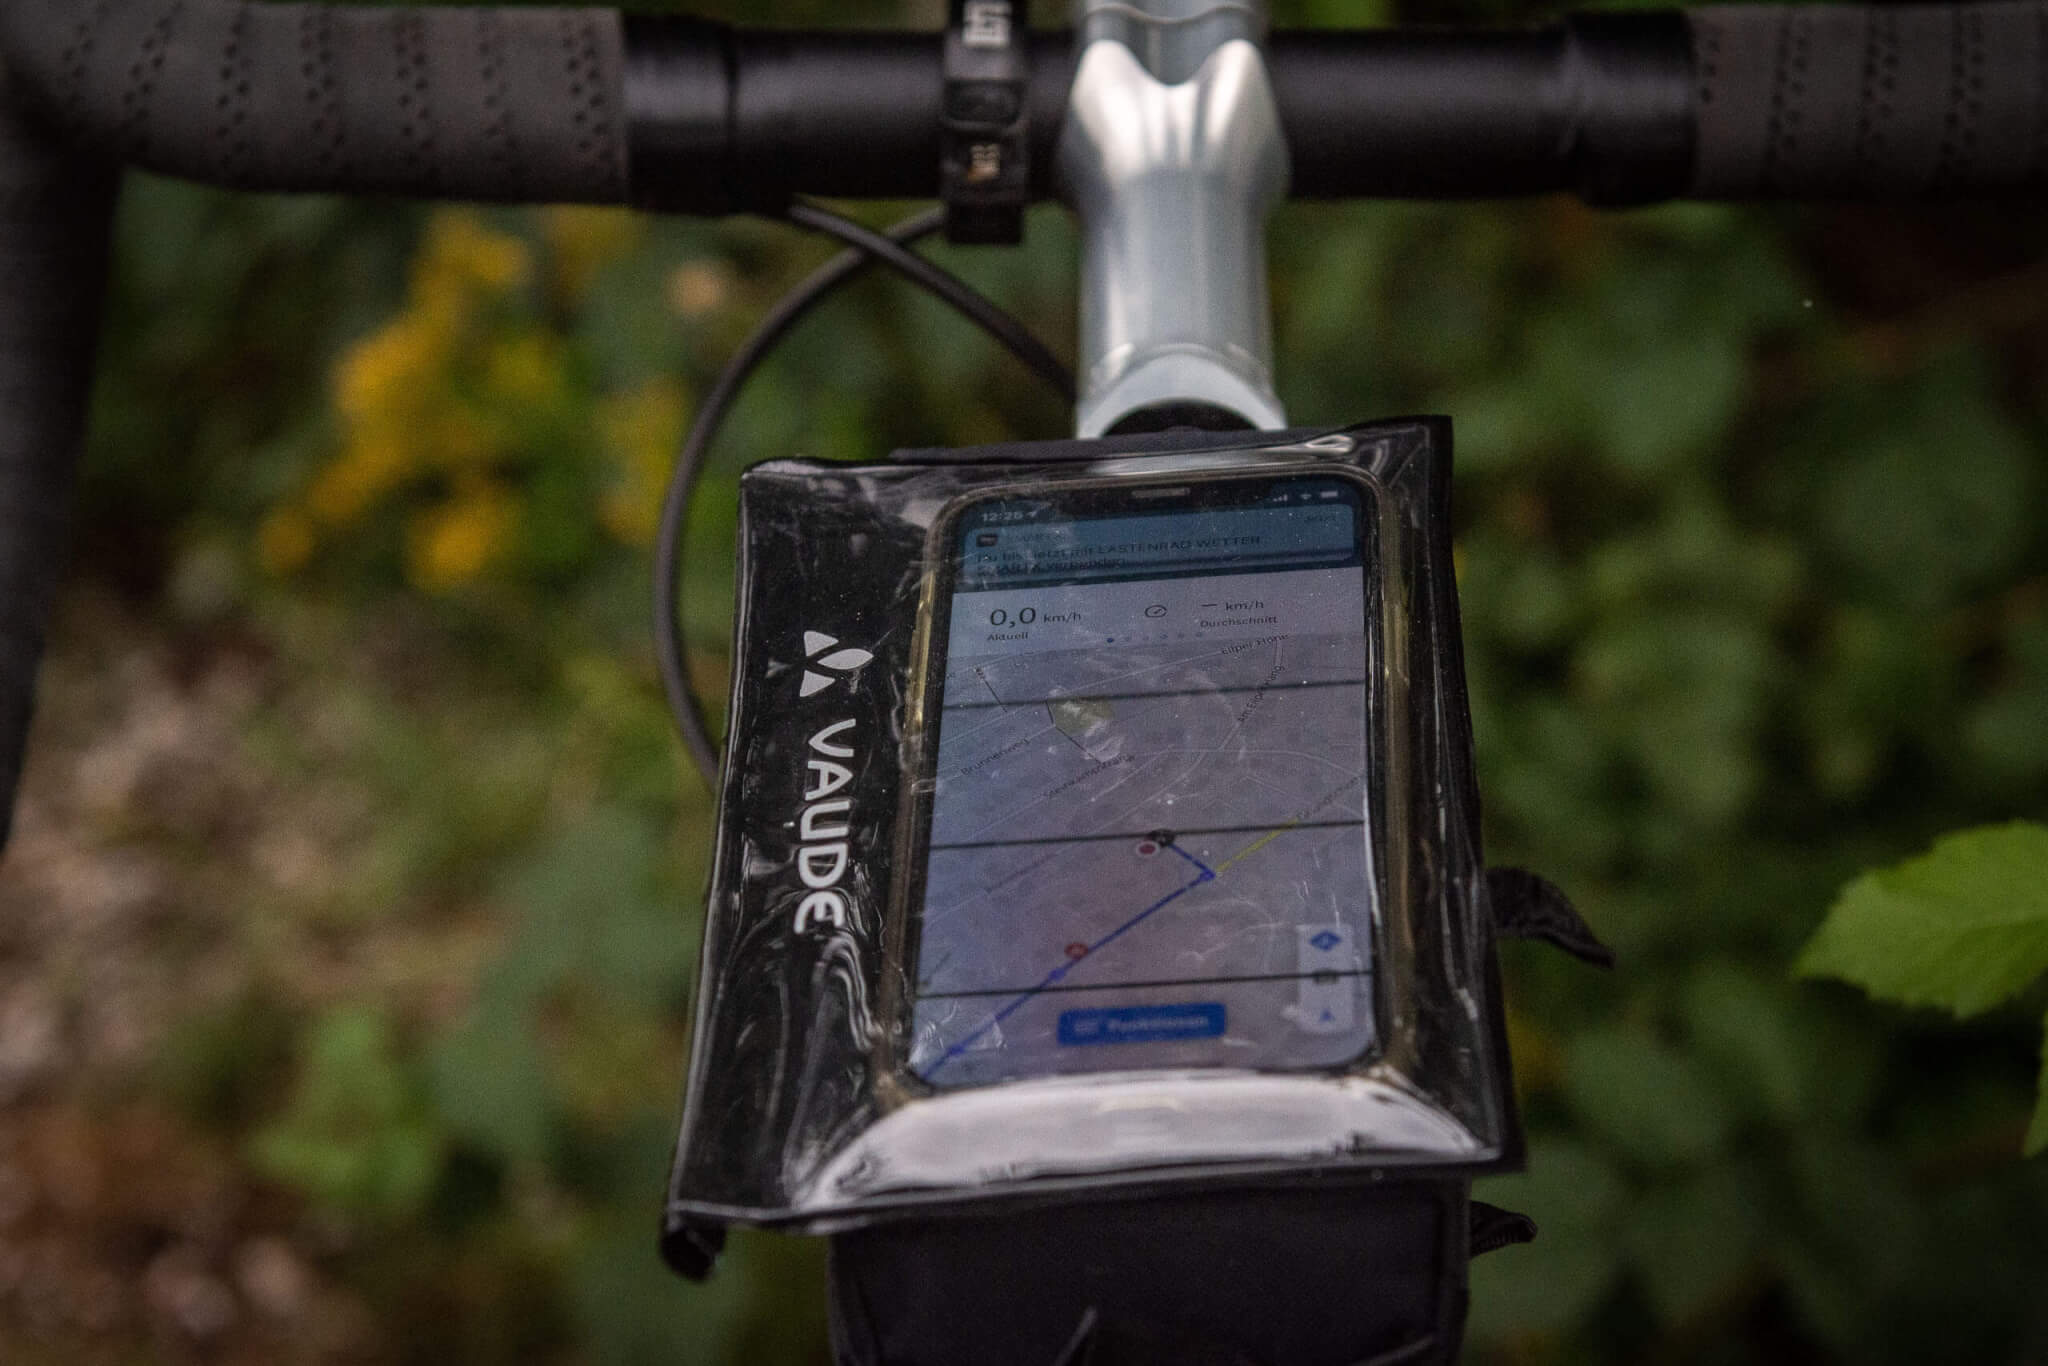
After you have started the navigation, you can decide whether you want to have a pure audio version or also use the display. The latter variant, of course, takes much more energy out of your phone battery, but on the other hand, it is of course more vivid and convenient. Especially in the hustle and bustle of the city, you’ll notice the small bike path that branches off from the traffic circle much easier with a map. The navigation via voice output is most comfortable via headphones and, by the way, also StVZO compatible. The app also records your tour. After your work is done, you can retrieve all data about the tour and also upload your own photos and highlights or add tips to existing highlights.
Using a bicycle navigation device
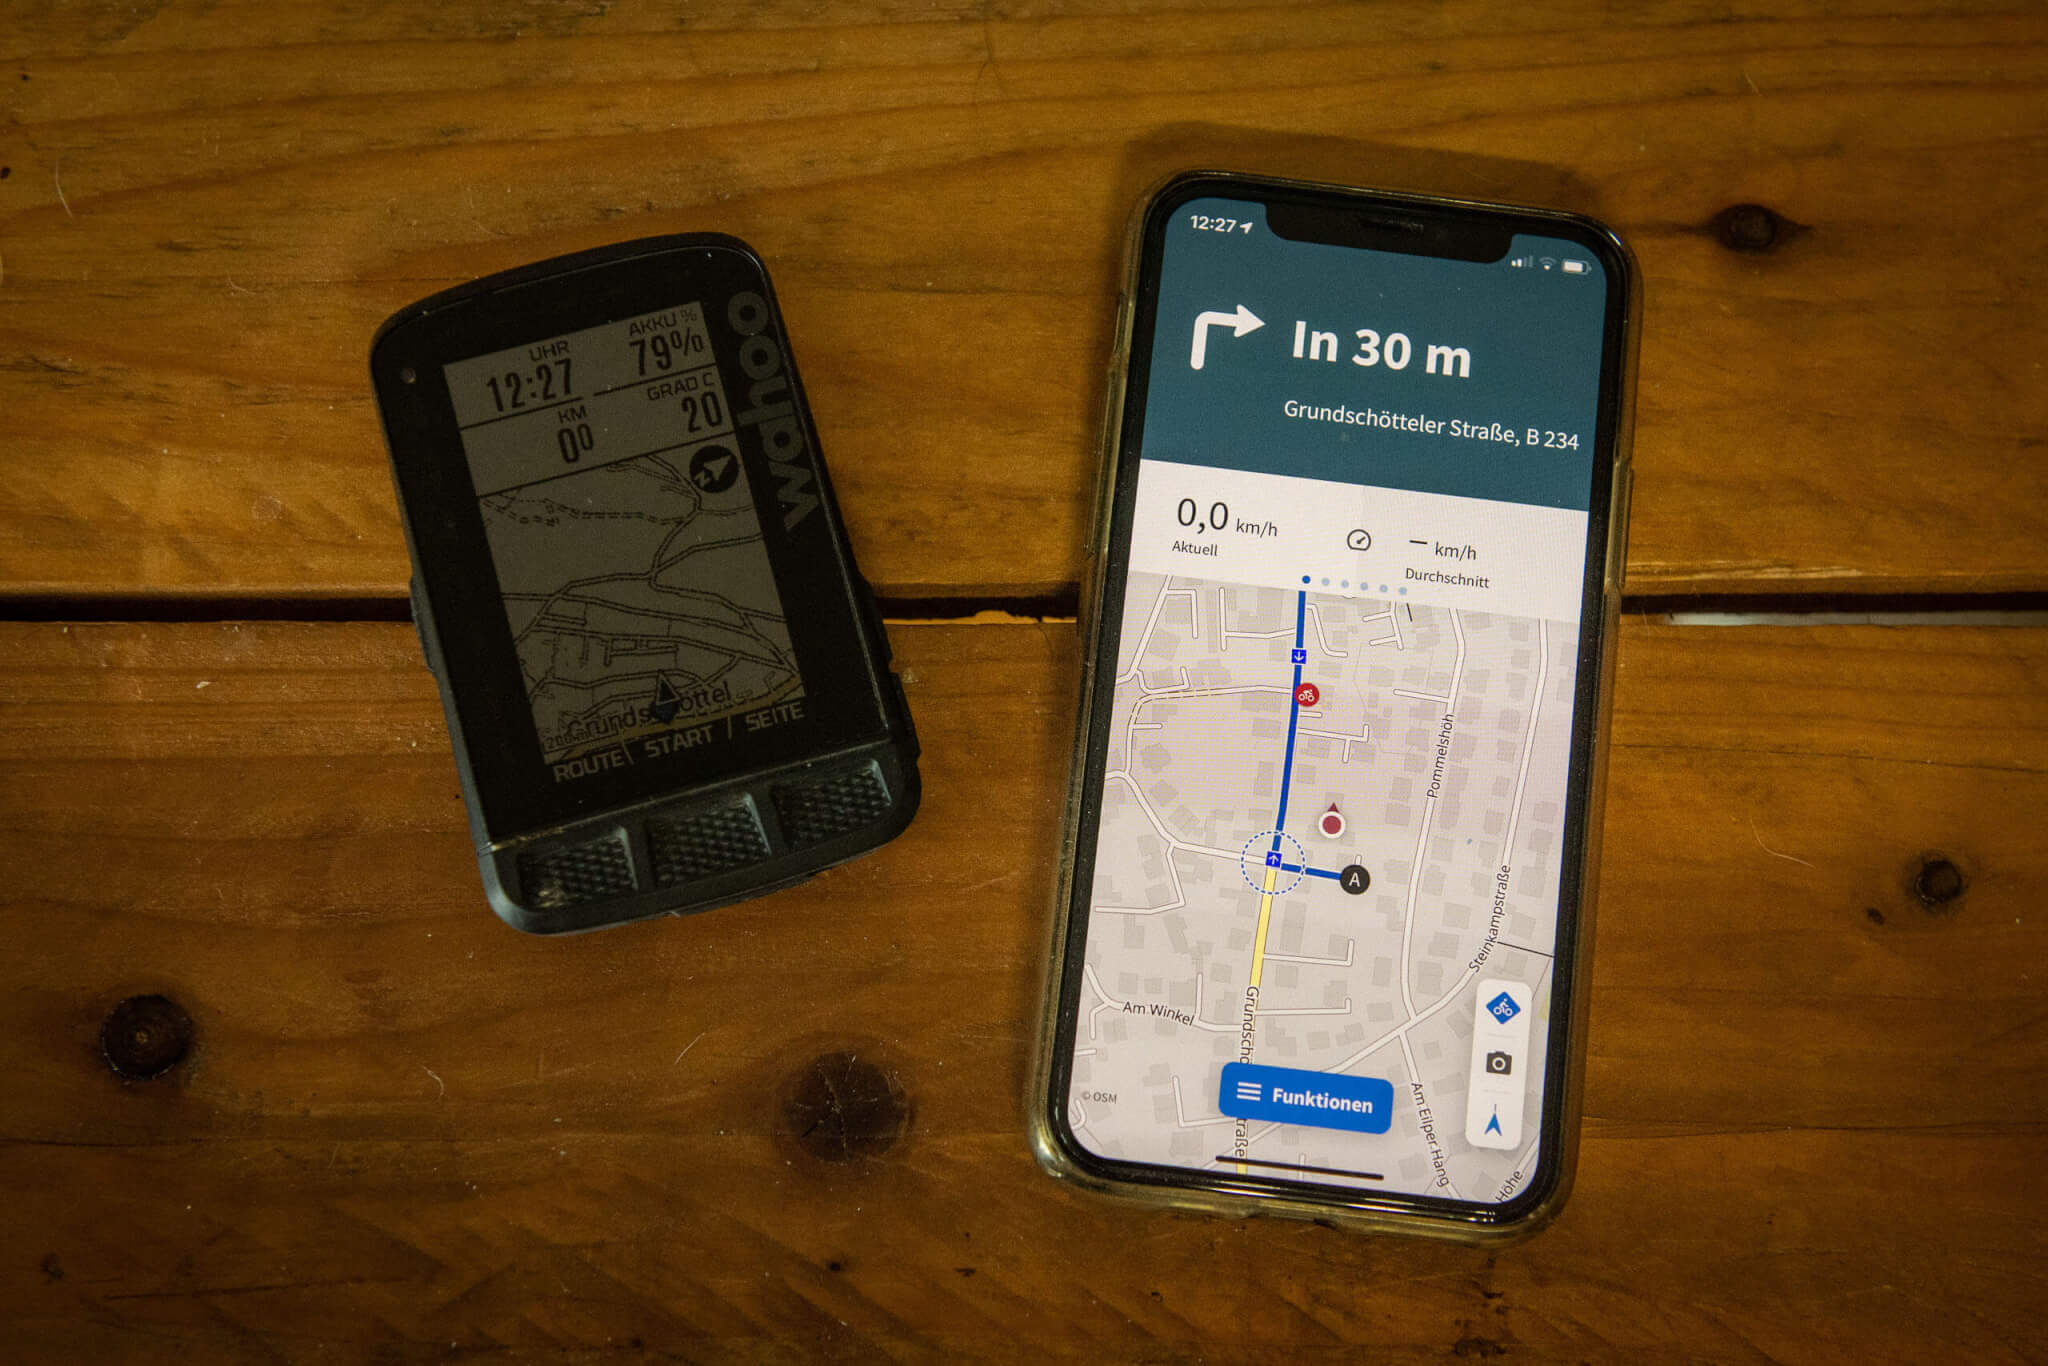
Just as there are navigation devices for the car, there are also those for bicycles. We have already tested a few and are absolutely convinced of the function of these electronic terminals. They are small, have a long battery life, are very easy to read in most cases and make for a relaxed ride down the track. At the same time, these devices also record your tour and synchronize it later with Strava, komoot & Co. Our favorite pairing is called “komoot + Wahoo Elemnt”We have not yet come across anything that is easier to handle.
So, now you are already quite well in the komoot theme, aren’t you? In any case, we hope you have fun discovering your surroundings and that you don’t get lost again. If you want to hone your navigation skills a bit more, we recommend our guide komoot for advanced users.